
Updated for Version 7.0
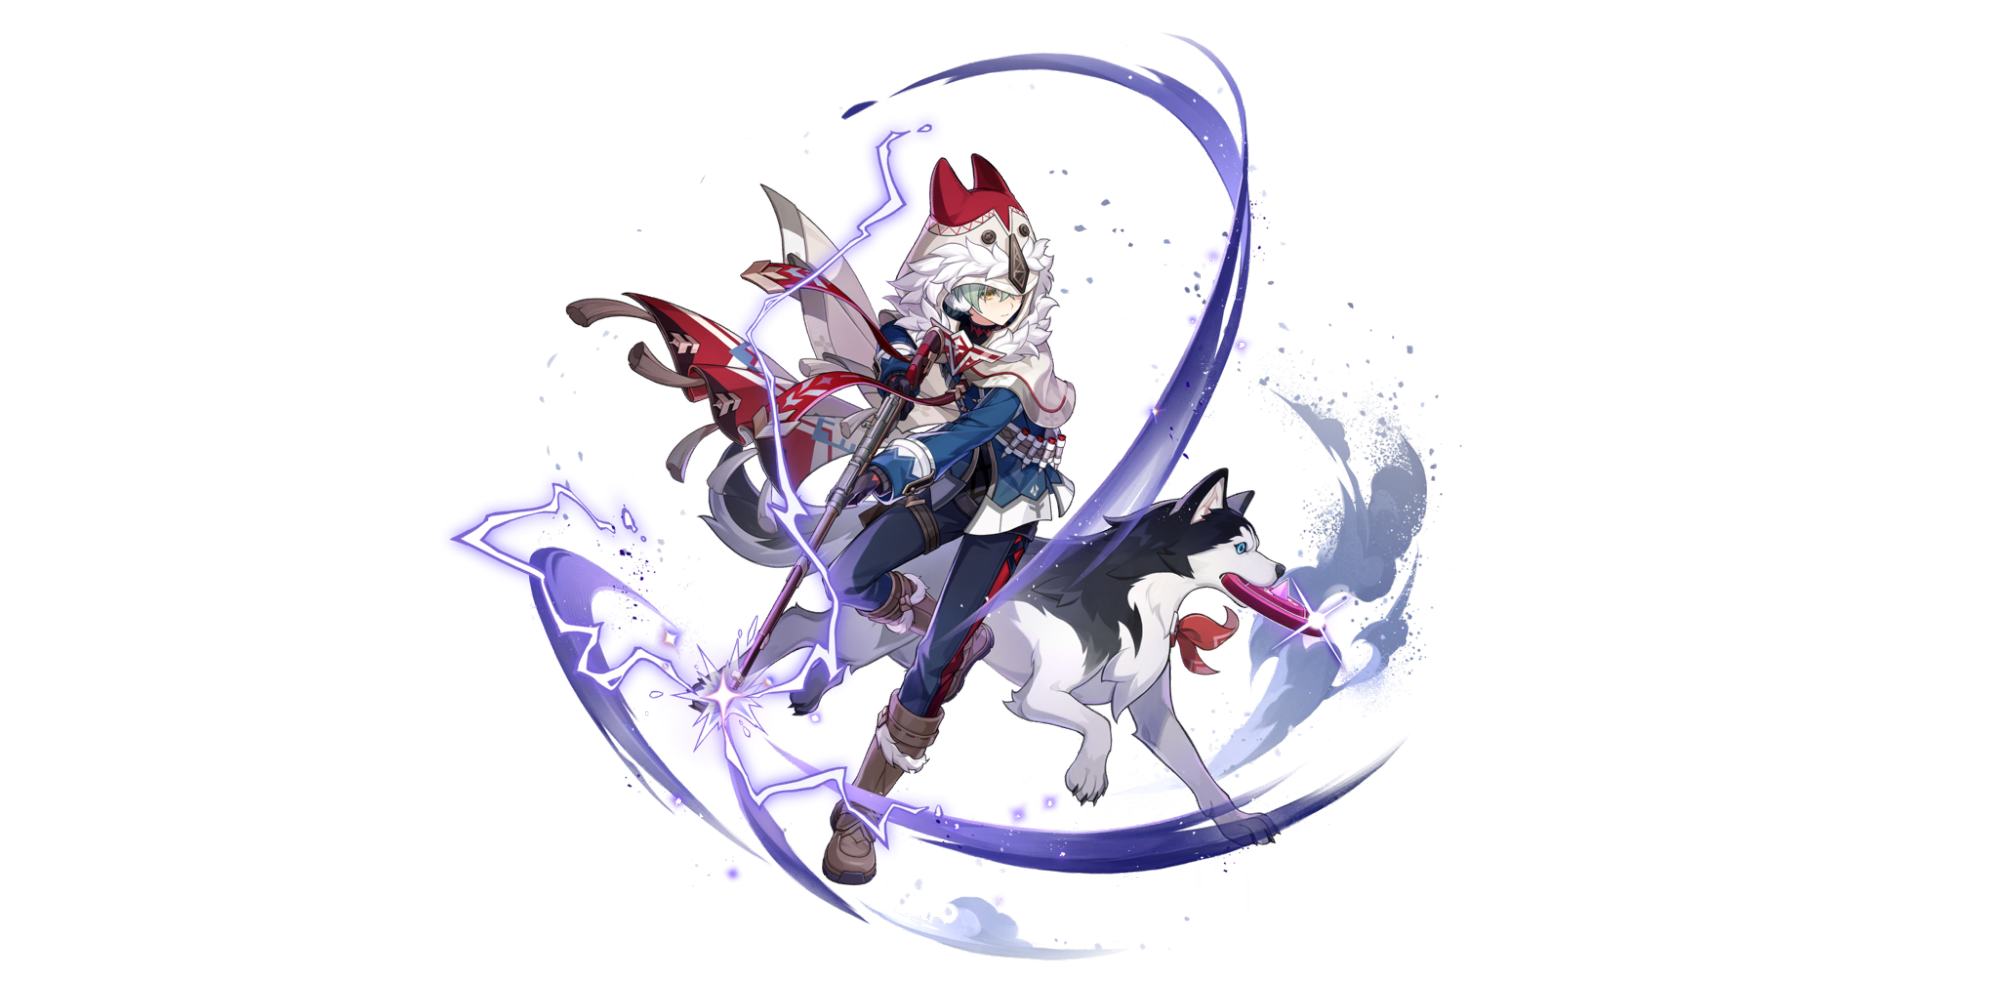
Alyosha is a 4-star Electro Polearm character in Genshin Impact who provides healing and a variety of buffs specifically catered to Stellar-Conduct teams. Learn about Alyosha’s best builds, best weapons, best artifacts, and best teams in this quick guide.
Note that the information given may change if new discoveries are made. More extensive testing is in progress.
Join our Discord to check on and participate in the theorycrafting process.
Table of Contents
Infographic
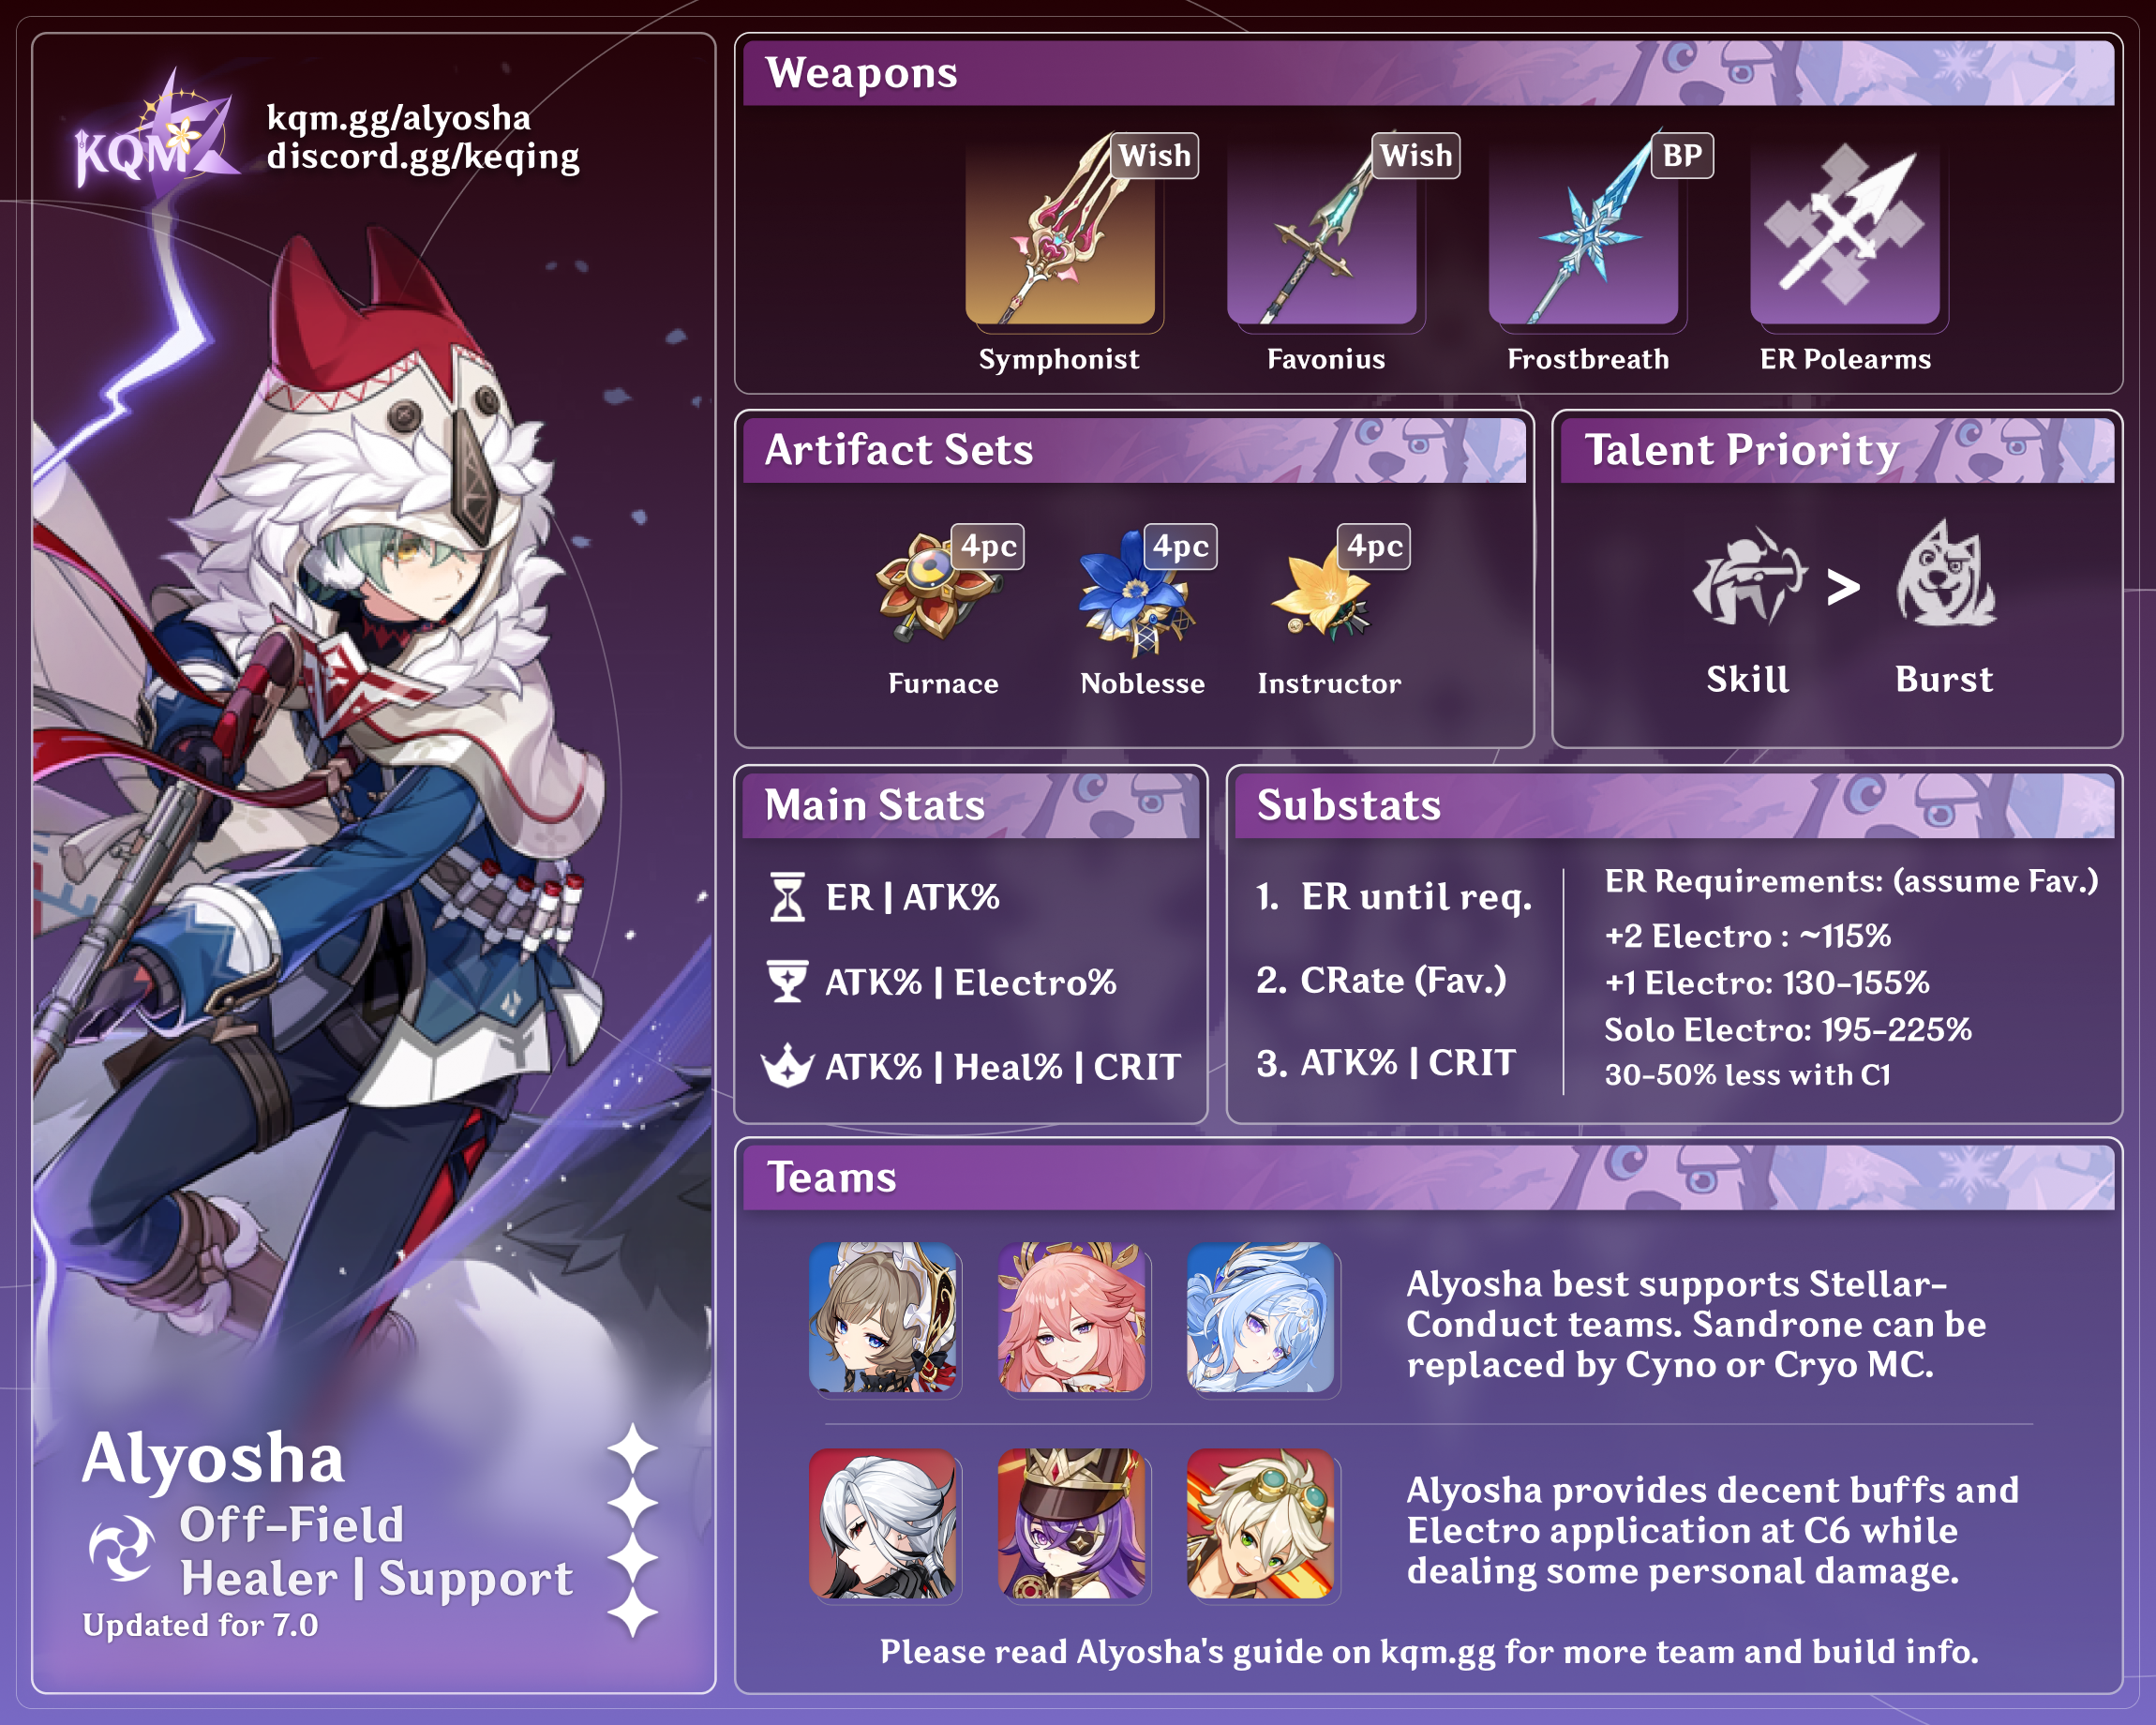
Credits to: laynnea, baloopy, and KQM Staff
Character Overview
Pros
- Decent performance in Stellar-Conduct teams.
- Viability at C6 in non–Stellar-Conduct teams thanks to his off-field Electro application, ATK% buffs, and EM buff.
- Free availability.
- Tugarin.
Cons
- Inability to enable Stellar-Conduct himself.
- Underwhelming personal damage.
- All his buffs benefit only the on-fielder.
Playstyles
In any of Alyosha’s support playstyles, he should use his Skill and Burst before the team’s on-field DPS unit takes the field.
Alyosha’s kit revolves around Hunter’s Marks, which give the on-field unit buffs from Hunter’s Precision. The ATK% buff scales with his Skill Talent level, while the Stellar-Conduct DMG% buff is fixed with his Stellar Passive.
Stellar-Conduct Support
Alyosha primarily serves as a Stellar-Conduct support in teams with DPS units such as Sandrone, Cryo Traveler, and Cyno. His kit is tailor-made for this role, but prior to C6, he faces competition from Qiqi and other 4-star options. Alyosha solidifies himself as a more competitive Stellar-Conduct support at C6.
General Support
Thanks to his general ATK% buff, additional buffs at C6, and ability to hold 4pc Noblesse Oblige or other support artifact sets, Alyosha can serve as a general support in teams that appreciate his off-field Electro application and aforementioned buffs. DPS units like Chasca, Flins, or Alhaitham can use his non–Stellar-Conduct buffs to good effect.
Talents
Talent Priority
Skill > Burst
His Skill Talent levels increase his ATK% buff, while his Burst Talent levels increase his personal damage.
His Normal Attacks do not contribute to his support role and can be left unleveled.
Talent Overview
Alyosha’s kit revolves around Hunter’s Marks, which give the on-field unit buffs from Hunter’s Precision. The ATK% buff scales with his Skill Talent level, while the Stellar-Conduct DMG% buff is fixed with his Stellar Passive.
 Normal Attack | Skirmishing Spear
Talent Description
Normal Attack
Performs up to 4 consecutive spear strikes and applies the Hunter’s Mark to the opponent hit by the final strike.
Charged Attack
Consumes a certain amount of Stamina to lunge forward, dealing damage to opponents in his path.
Plunging Attack
Plunges from mid-air to strike the ground below, damaging opponents along the path and dealing AoE DMG upon impact.
Alyosha’s Normal Attacks can help trigger Favonius Lance’s passive. The last hit of his attack string applies a Hunter’s Mark, but this is practically useless because of his Skill.
 Elemental Skill | Thunderbolt Strike
Talent Description
Follows his hunter’s instincts. Tap or hold to produce different effects as well as apply the Hunter’s Mark effect to the hit opponents.
Tapping
Fires at opponents in front of him, dealing AoE Electro DMG.
Holding
Enters aiming mode, then targets opponents within a certain area in front of him. Alyosha’s Interruption RES is enhanced when in this mode.
At the end of the button hold, he deals Electro DMG to the targeted opponents.
Alyosha’s Elemental Skill can be tapped or held. In either case, it generates 5 Electro particles upon hitting an enemy and applies the Hunter’s Mark. The Hold Skill deals slightly higher damage and can hit more enemies, although it is generally not worth using.
 Elemental Burst | Hunter’s Advance
Talent Description
Summons his trusted companion Tugarin to fight alongside him on the field. This also turns an area in front of him into a Fulgurite Hunting Field for a short time.
Fulgurite Hunting Field
- Continuously taunts nearby opponents to incite them to attack.
- Every 2s, deals an instance of AoE Electro DMG to any opponent that enters the field.
Tugarin
- If there are any opponents nearby, Tugarin will quickly move close to an opponent and maul them every 2s, dealing Electro DMG
- If an opponent affected by the Hunter’s Mark effect is hit, the Hunter’s Mark will also be activated.
- Where there are multiple opponents, Tugarin will attack those affected by the Hunter’s Mark effect first.
Alyosha’s Elemental Burst accomplishes two things:
- It generates a field that taunts enemies and deals Electro damage every 2s within its AoE.
- It summons Tugarin.
Tugarin does the following:
- Deals Electro damage every 2s.
- Prioritizes enemies affected by Hunter’s Mark.
- Activates (detonates) Hunter’s Marks.
- With Alyosha’s A1 Passive, heals the on-fielder, scaling with Alyosha’s ATK stat.
- With Alyosha’s Stellar Passive, grants the on-fielder a 20% Stellar-Conduct DMG buff upon activating a Hunter’s Mark.
- At C6, this Stellar-Conduct DMG% buff doubles upon activating 2 Marks.
- Additionally, at C6, activating 2 Marks grants a 100 EM buff to the on-fielder.
At a baseline, Alyosha’s Burst lasts 14s.
At C2, this increases to 20s, which allows increased buff uptime and more flexible rotations. He can use his Burst every other rotation while still having full or nearly full buff uptime.
 Ascension 1 Passive | Awakened By the Baying Hounds
Talent Description
When Tugarin attacks, it will also restore HP to nearby active characters at 120% of Alyosha’s ATK.
Alyosha’s A1 Passive allows Tugarin to heal the on-fielder when he attacks, scaling with Alyosha’s ATK stat. This is Alyosha’s only innate form of healing prior to C4.
 Ascension 4 Passive | Suffer the Winter Wheat Will
Talent Description
Increases the DMG Alyosha deals with his Elemental Skill and Elemental Burst by 0.35% for every 1% of his Energy Recharge. Up to a 70% increase can be obtained in this way.
Alyosha’s A4 Passive buffs his Skill and Burst DMG, scaling with his ER stat. The buff caps at 200% ER.
 Stellar Passive | Into the Fray
Talent Description
Alyosha will enter the Radiance: Stellar-Conduct state when inside a Polestar Field.
Radiance: Stellar-Conduct: The Hunter’s Precision effect obtained when the Hunter’s Mark is activated will also increase Stellar-Conduct DMG dealt by all currently active party members by 20%.
Alyosha’s Stellar Passive is his sole source of Stellar-Conduct DMG buffs (which doubles at C6). This passive triggers when Tugarin activates a Hunter’s Mark and lasts 15s.
Constellations
 Constellation 1 | Frostvale Thunderclap
Constellation Description
Alyosha regenerates 15 Elemental Energy when nearby party members trigger an Electro-related reaction on an opponent. This effect can trigger once every 18s.
Alyosha’s C1 grants him 15 Energy when an Electro-related reaction is triggered, with a cooldown of 18s. This significantly reduces his ER requirements.
 Constellation 2 | Howl From Afar
Constellation Description
The duration of the Elemental Burst Hunter’s Advance is extended by 6s.
Additionally, each time Tugarin attacks the opponent, he will also apply the Hunter’s Mark to a target. This effect does not activate existing Hunter’s Marks.
Alyosha’s C2 is one of his most important Constellations. It increases his Burst duration to 20s and allows him to extend his buff duration to 35s. He can use his Burst every other rotation in most teams, thereby shortening his field time and increasing Cryo Resonance uptime (from increased Cryo aura uptime).
It also allows his Hunting Field to apply Hunter’s Mark. Note that the Constellation description is misleading: if there is already a Hunter’s Mark when the Hunting Field attacks, it will not activate it. Instead, Tugarin will activate it when he attacks, as normal.
 Constellation 3 | Friendly Call
Constellation Description
Increases the Level of the Elemental Skill Thunderbolt Strike by 3.
Maximum upgrade level is 15.
Alyosha’s C3 increases his ATK% buff.
 Constellation 4 | Harvest the Spoils
Constellation Description
When Tugarin attacks, he will also restore 60% of Alyosha’s ATK as HP to the nearby party member with the lowest HP by percentage.
Alyosha’s C4 enables Tugarin to heal the party member with the lowest-percentage HP in addition to his regular healing. This increases his healing effectiveness.
 Constellation 5 | When the Nightbird Falls Silent
Constellation Description
Increases the Level of the Elemental Burst Hunter’s Advance by 3.
Maximum upgrade level is 15.
Alyosha’s C5 increases his Burst damage, making it a fairly negligible Constellation.
 Constellation 6 | Standard Reclaimed
Constellation Description
The Hunter’s Precision effect obtained from activating a Hunter’s Mark can now stack, max 2 stacks. When the stack count reaches 2, currently active party members will also have their Elemental Mastery increased by 100.
Alyosha’s C6 doubles his ATK% and Stellar-Conduct DMG% buffs upon activating 2 Hunter’s Marks. Additionally, activating 2 Marks grants a 100 EM buff to the on-fielder.
This Constellation makes Alyosha more competitive as a Stellar-Conduct support.
Furthermore, Alyosha’s C6 allows him to be a more viable general support for teams that appreciate off-field Electro application, ATK%, and EM.
Combos
Combo Notation
- N = Normal Attack
- C = Charged Attack
- A = Aimed Shot
- P = Plunging Attack
- hP = High Plunge
- lP = Low Plunge
- E = Elemental Skill
- tE = Tap Skill
- hE = Hold Skill
- Q = Elemental Burst
- D = dash (cancel)
- J = jump (cancel)
- W = walk (cancel)
- > = switch character
- ( ) = these actions are optional; please refer to the notes below
- [ ] = repeat these actions the specified number of times
Note that Alyosha’s combos may change as new combos are tested. More extensive testing is in progress.
| EQ | Alyosha’s standard combo. This allows him to self-funnel the particles generated from his Skill. With Alyosha’s C2, he can skip his Burst every other rotation while still having full or nearly full buff uptime. He can still use his Skill for Energy and Electro application if needed. |
| Q E | He can use this combo to battery his teammates, e.g. Cyno. With Alyosha’s C2, he can skip his Burst every other rotation while still having full or nearly full buff uptime. He can still use his Skill for Energy and Electro application if needed. |
Artifacts
ER Requirements
Calcs for ER requirements can be found here (last updated for Version 7.0).
Alyosha requires practically no ER investment if he can Burst every other rotation at C2+, assuming he starts with Burst available. For Stygian Onslaught, consider building ER regardless.
| C0 | C1+ | C0 Fav | C1+ Fav | |
| +0 Electro Teammates | 235–280% | 205–220% | 195–225% | 150–175% |
| +1 Electro Teammate | 145–180% | 115–145% | 130–155% | 105–125% |
| +2 Electro Teammates | 130% | 100% | 115% | 100% |
Use the Energy Recharge Calculator to determine exact requirements for your team and rotation. For more details on how Favonius weapons will affect your team, please use Ac1d’s Favonius Mastersheet.
Artifact Stats
 Sands |  Goblet |  Circlet |
| Energy Recharge or ATK% | ATK% | Healing Bonus, ATK%, or CRIT |
Stat Priority: ER% until requirement > CRIT Rate (Favonius Lance) > ATK% ≥ CRIT
Alyosha should prioritize ER% to use his Burst as frequently as needed (every rotation at C0–C1, and usually every other rotation at C2+). Beyond that, CRIT Rate helps trigger Favonius Lance’s passive more consistently. ATK% stats boost Alyosha’s healing and personal damage, CRIT stats buff his personal damage, and Healing Bonus purely maximizes his healing.
Since Alyosha’s personal damage is quite low compared to the team’s dedicated DPS units, CRIT stats beyond the necessary CRIT Rate to consistently trigger Favonius Lance’s passive are a lower priority.
Artifact Sets
Hover over artifact images/names for more information.
 4pc Heart of the Furnace | 4pc Heart of the Furnace is the default set for Alyosha in Stellar-Conduct teams if no one else can hold it and he can trigger Stellar-Conduct (i.e. there is a Cryo aura on the enemy). |
 4pc Noblesse Oblige (NO) | Alyosha uses 4pc NO when another teammate holds 4pc Heart of the Furnace. This set can also be used in non–Stellar-Conduct teams. |
 Other 4pc Support Sets | – 4pc Instructor – 4pc Deepwood Memories – 4pc Silken Moon’s Serenade – 4pc Scroll of the Hero of Cinder City – 4pc Song of Days Past – 4pc Archaic Petra – 4pc Ocean-Hued Clam In non–Stellar-Conduct teams, Alyosha can use a variety of 4pc artifact sets if another character prefers to hold 4pc Noblesse Oblige. Some sets are more relevant than others, depending on what benefits his team. Note that 4-star artifact sets like Instructor and The Exile lower his overall healing from lower ATK stats. |
Weapons
The weapons listed below focus on reaching Alyosha’s ER requirements in a support-oriented playstyle.
Hover over weapon images/names for more information.
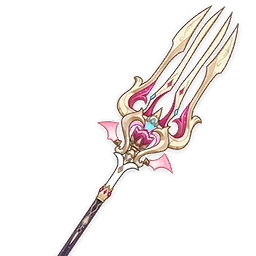 Symphonist of Scents | Alyosha can activate Symphonist of Scents’ passive with his healing. This provides a nice ATK% buff to his on-fielder (and potentially an off-fielder with his C4). |
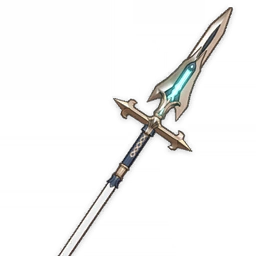 Favonius Lance | Favonius Lance is Alyosha’s default Polearm option. It provides high Base ATK relative to other 4-star options and helps lower the entire team’s ER requirements. |
 Frostbreath | Frostbreath provides similar benefits to Favonius Lance, but grants Alyosha’s teammates with Flat Energy instead of particles. Alyosha must trigger Stellar-Conduct (or another Cryo or Hydro-related reaction) in order to trigger this weapon’s passive. Note that Frostbreath can work on shielded enemies while Favonius Lance cannot, which makes this weapon more appealing for shielded bosses in end-game content like Stygian Onslaught. |
 ER Polearms | Engulfing Lightning, Skyward Spine, “The Catch”, Mountain-Bracing Bolt, Prototype Starglitter, Tamayuratei no Ohanashi If Favonius Lance is unavailable, Alyosha can use any Polearm with an ER secondary stat to help reach his ER requirements. |
Teams
Rotation Notation
- N = Normal Attack
- C = Charged Attack
- A = Aimed Shot
- P = Plunging Attack
- E = Elemental Skill
- tE = Tap Skill
- hE = Hold Skill
- Q = Elemental Burst
- D = dash (cancel)
- J = jump (cancel)
- W = walk (cancel)
- > = switch character
- ( ) = these actions are optional; please refer to the notes below
- [ ] = repeat these actions the specified number of times
Stellar-Conduct

Alyosha’s kit caters to Stellar-Conduct teams due to his Stellar-Conduct DMG% buff, ATK% buff, and 100 EM buff at C6. Alyosha’s healing also helps with survivability for the on-field unit. His Electro application enables Stellar-Conduct, which is important if you lack other Stellar-Conduct–oriented Electro options like Yae Miko or C6 Beidou.
Notable Teammates
On-Field Stellar-Conduct Units
 Sandrone ★ | Sandrone enables Stellar-Conduct herself, so she has more flexibility in team composition compared to units like Cyno. She deals incredibly high damage when fully supported. |
 Cryo Traveler ★ | Cryo Traveler is a fantastic option as an on-field Stellar-Conduct DPS unit. Despite being a free option, their accumulated innate buffs and the ability to maximize Exaiphanes Blade make them an incredibly competitive DPS option. They also enable Stellar-Conduct innately, which allows more team flexibility. |
 Cyno ★ | Cyno is best paired with Odette since she requires minimal field time and enables Stellar-Conduct. If Odette is unavailable, Cryo Traveler can be used. |
 Wriothesley | Wriothesley prefers to manage his HP without a healer on the team. However, with unleveled artifacts, an unleveled Polearm, and minimal ATK investment, Alyosha can still work as a support for Wriothesley if units like C6 Beidou or Yae are unavailable. |
Off-Field Stellar-Conduct Units
 Odette ★ | Odette is the premier Stellar-Conduct support. She typically holds 4pc Heart of the Furnace, so Alyosha would hold 4pc Noblesse Oblige. |
 Yae Miko ★ | Yae Miko is the premier Stellar-Conduct off-field DPS, thanks to her high personal damage, low field time, and buffs. |







Example Teams
This is not a comprehensive list of teams. The inclusion or exclusion of any given team does not necessarily reflect its power level.

Odette, Yae Miko, and Alyosha form a strong off-field core for on-field Stellar-Conduct DPS units. Prior to C6, however, Alyosha can be replaced with units like Qiqi, C6 Beidou, Escoffier, and Nicole with little change to team performance.
Odette usually holds 4pc Heart of the Furnace, so Alyosha can hold 4pc Noblesse Oblige in these teams.
Also note that C2+ Alyosha can use his Burst every other rotation to accommodate a shorter rotation for Cryo Traveler or Sandrone.
Sample Rotation
Yae Miko 3[E] > Odette 2[E] > Alyosha EQ¹ > Sandrone / Traveler / Cyno combo
¹Alyosha can use Q E to battery Cyno instead.

If Odette and Yae Miko are unavailable, units like Cryo Traveler and Qiqi can be used instead. Alyosha should hold 4pc Heart of the Furnace, Qiqi should hold 4pc TotM, and Cryo Traveler should hold 4pc Disenchantment in Deep Shadow.
Sample Rotation (Sandrone)
Alyosha EQ > Qiqi E (Q) > Traveler¹ EN1C Q > Sandrone combo
Sample Rotation (Cyno)
Alyosha Q > Qiqi E (Q) > Traveler¹ E N1C Q > Alyosha E > Cyno combo
¹In the first rotation only, Traveler can skip N1C Q.

Wriothesley prefers to manage his HP without a healer on the team. However, with unleveled artifacts, an unleveled Polearm, and minimal ATK investment, Alyosha can still work as a support for Wriothesley if units like C6 Beidou or Yae Miko are unavailable. Escoffier should not use Burst.
Sample Rotation
Escoffier E > Odette 2[E] > Alyosha EQ > Wriothesley combo

This is a more accessible 4-star team that fares well against Stellar-Conduct–oriented end-game content. This team uses Beidou’s Burst and Diona’s Burst in alternating 15s rotations. Diona should hold 4pc Heart of the Furnace in this team.
Sample Rotation
Beidou E(Q)¹ > Diona hE(Q)¹ > Alyosha E(Q)² > Traveler combo
¹Alternate between Beidou and Diona Burst every rotation.
²Use Alyosha’s Burst every other rotation with his C2 activated.
Limited Roster Alternatives
These teams are meant for newer players whose limited roster prevents them from using the teams above; as such, the teams below result in lower damage output.

This freely accessible team can be used if you lack 5-star Stellar-Conduct characters or lack C6 on 4-star units like Beidou and Diona.
Sample Rotation
Alyosha EQ > Kaeya EQ > Sucrose E (Q) N1 > Traveler combo
General Support

Thanks to his off-field Electro application, ATK% buffs, and EM buff (at C6), Alyosha can slot in as an off-field Electro support in a variety of teams. This type of role is similar to Ororon, Lisa, or Fischl.
Example Teams
This is not a comprehensive list of teams. The inclusion or exclusion of any given team does not necessarily reflect its power level.

Alyosha can support Electro and Pyro DPS characters in a Chevreuse Overloaded team.
Sample Rotation
Arlecchino E > Alyosha EQ > Chevreuse hEQ > Bennett EQ > Arlecchino combo

Lunar-Charged teams appreciate Alyosha’s healing, ATK% buff, and off-field Electro application. At C6, his 100 EM buff also increases Lunar-Charged damage.
Sample Rotation
Columbina E(Q)¹ > Alyosha EQ > Sucrose ED (Q)² N2 > Flins combo
¹Use Burst every other rotation.
²Use Burst when available.

Chasca appreciates Alyosha’s off-field Electro application and ATK% buffs. He can heal the on-fielder enough to generate significant Fanfare (similar to other single-ally healers).
Sample Rotation
Furina ED Q > Durin 2[E] Q > Alyosha EQ > Chasca combo
Credits
Writer(s): irokei
Contributors: antiguaa, acerbus114
Team images made with the KQM portrait generator.