Updated for Version “Luna III”

Jahoda is a 4★ Anemo Bow character in Genshin Impact who supports the team with her healing, EM buff, off-field Pyro/Hydro/Electro/Cryo application and Moonsign Level increase. Learn about Jahoda’s best builds, best weapons, best artifacts, and best teams in this quick guide.
Note that the information given may change if new discoveries are made. More extensive testing is in progress.
Join our Discord to participate in the theorycrafting process.
Table of Contents
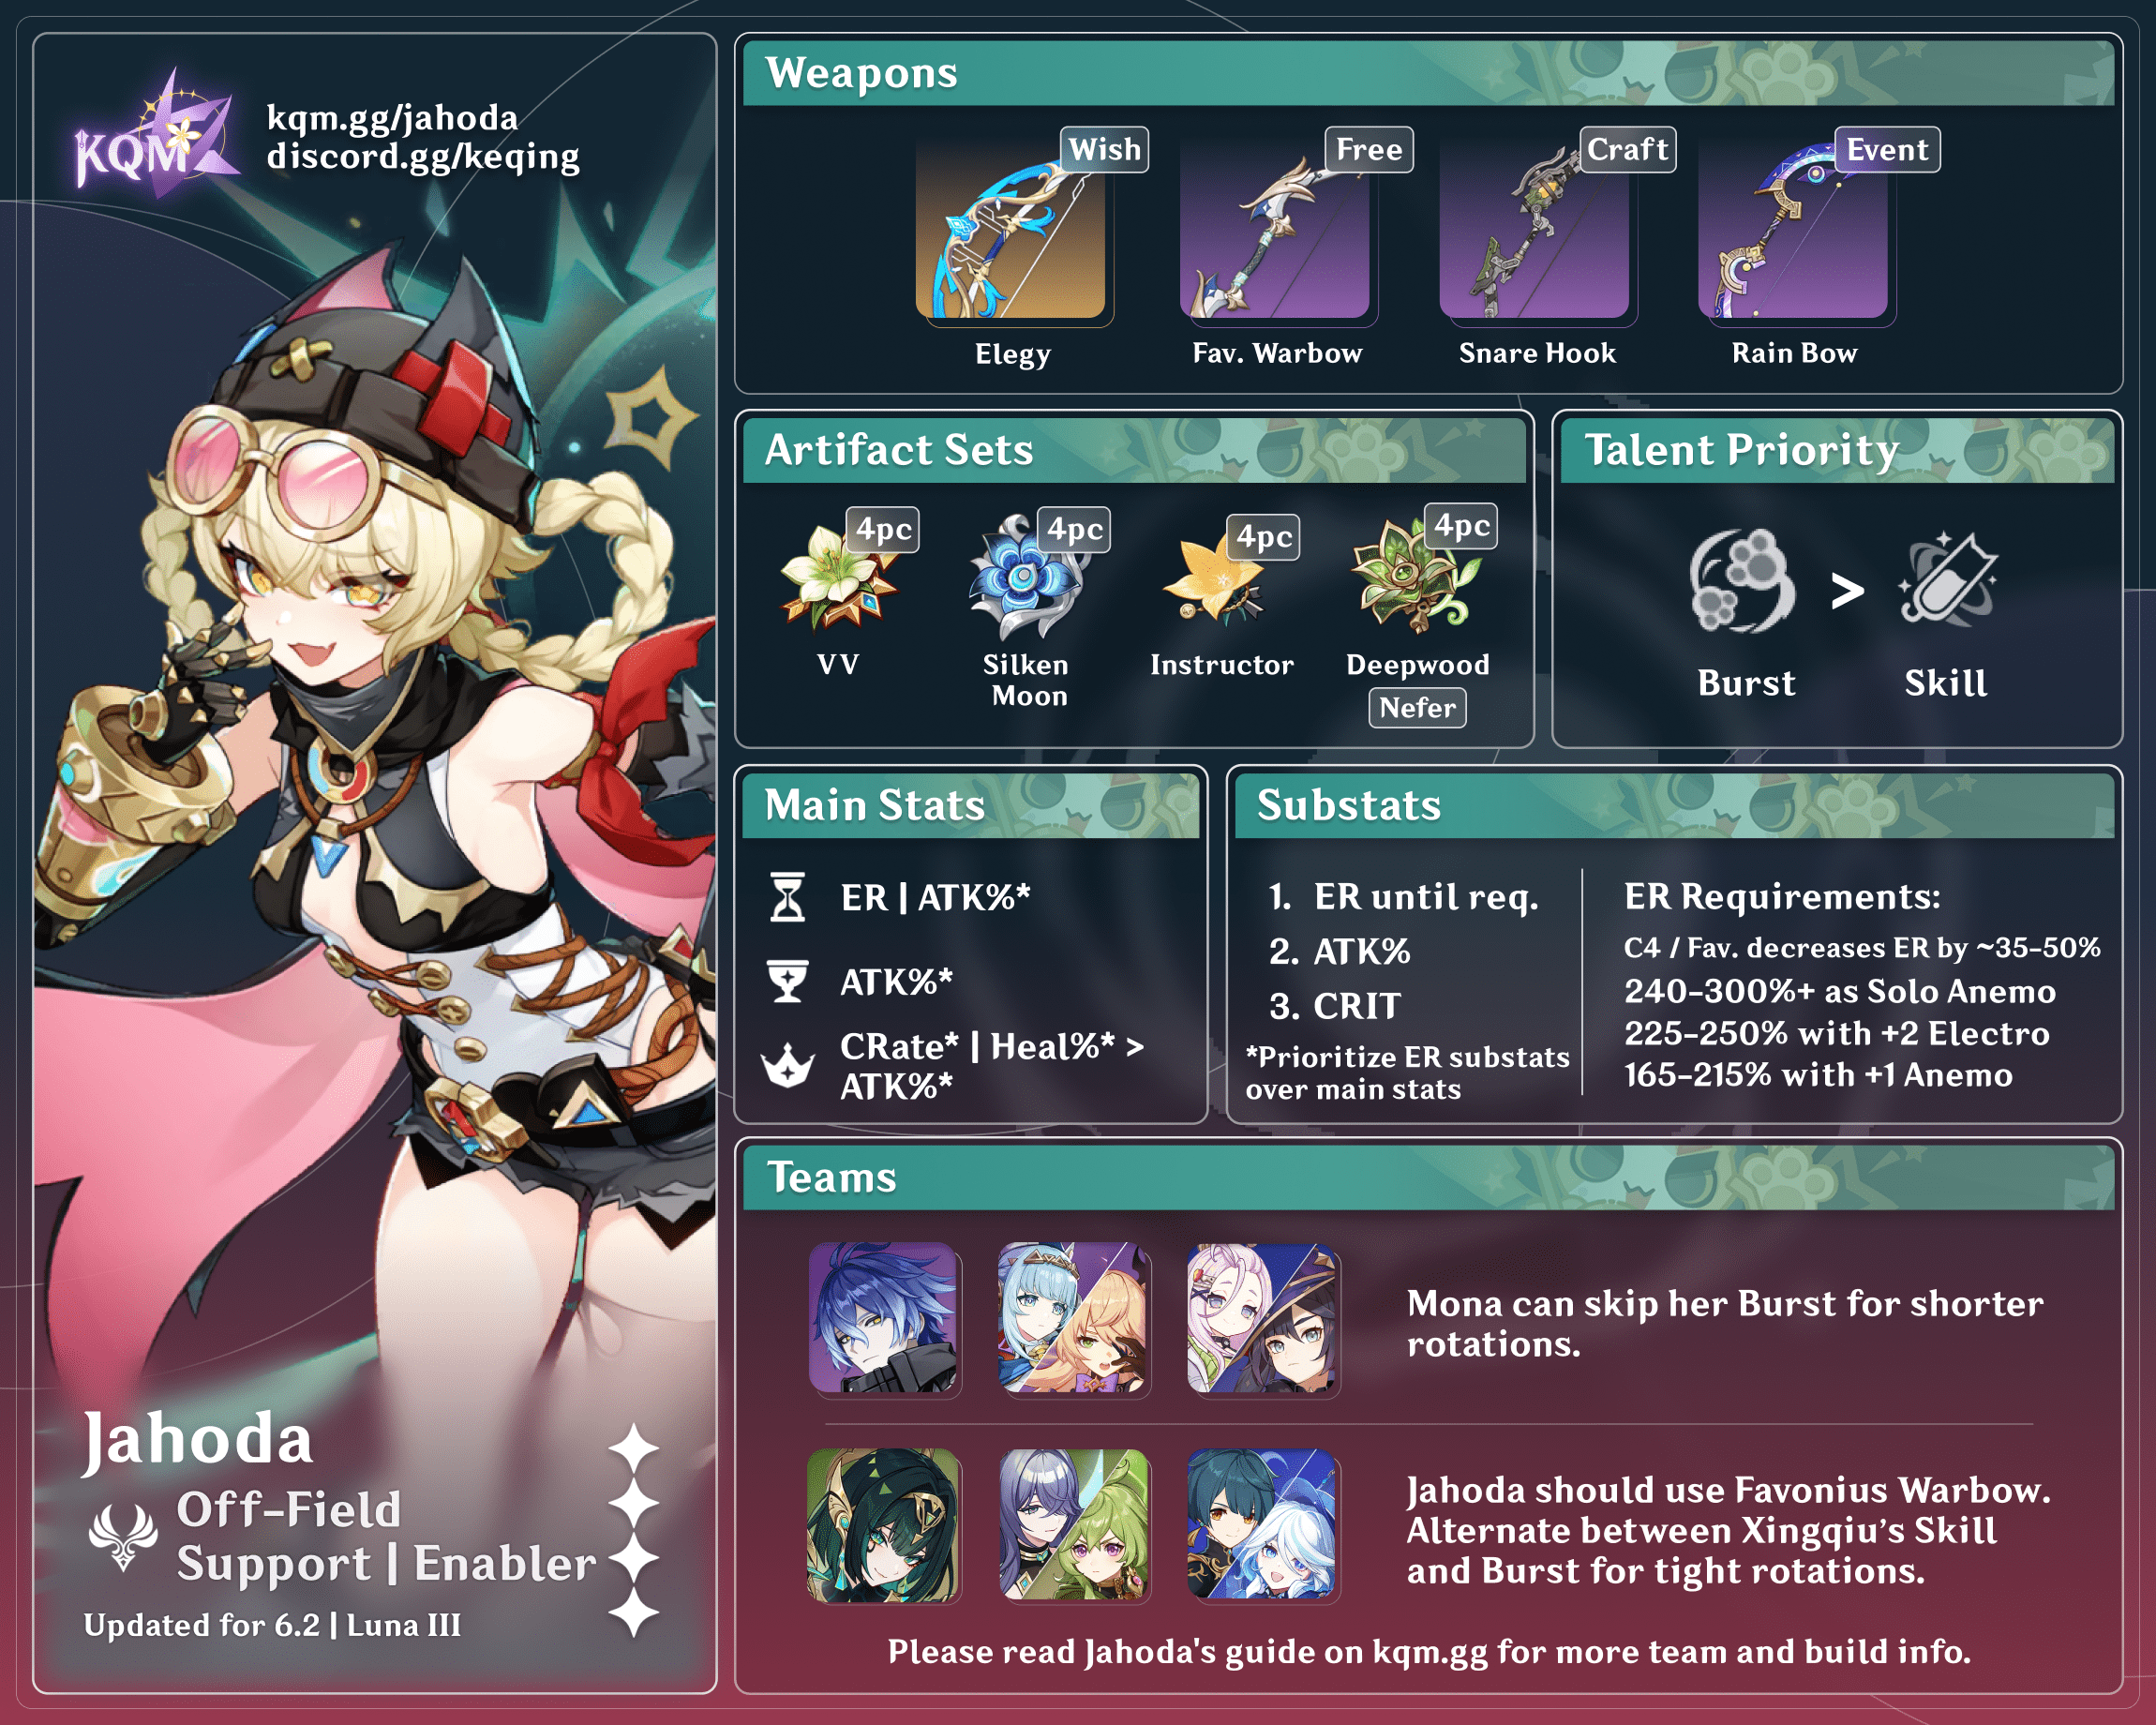
Infographic
Credits to acerbus114, hearttofhope, and KQM Staff
Character Overview
Pros
- Provides good healing.
- Has decent off-field PHEC application in Ascendant Gleam teams.
- Increases the team’s Moonsign Level.
- C6 greatly buffs CRIT stats for Moonsign characters.
- seeing jahoda as a playable character feels crazy like i thought that was just our local bum.
Cons
- Requires considerable field time and Ascendant Gleam for her Elemental Skill’s off-field application.
- Struggles to maintain the uptime of 4pc Viridescent Venerer’s effect because of her Skill’s long cooldown.
- Requires her C6 to compete with other Anemo buffers.
- 0 _ 0
Playstyles
Off-field Support / Enabler
In Ascendant Gleam teams, Jahoda “collects” Elements from enemies with her Skill, charging her Purr-loined Treasure Flask to apply Elements from off-field, before using her Burst to buff and heal.
Talents
Talent Priority
Burst > Skill
Jahoda’s Burst is prioritized to increase her healing output. Leveling her Skill improves her main source of damage; however, this Talent can be left untouched in most cases as her personal damage is not important.
Talent Overview
 Normal Attack | Strike While the Arrow’s Hot
Talent Description
Normal Attack
Performs up to 3 consecutive shots with a bow.
Charged Attack
Performs a more precise Aimed Shot with increased DMG.
While aiming, mighty winds will accumulate on the arrowhead. A fully charged wind arrow will deal Anemo DMG.
Plunging Attack
Fires off a shower of arrows in mid-air before falling and striking the ground, hitting opponents along the path and dealing AoE DMG upon impact.
A standard set of Bow attacks. Jahoda does not typically use these attacks in combat.
 Elemental Skill | Savvy Strategy: Splitting the Spoils
Talent Description
Jahoda dashes toward her opponent, entering the Shadow Pursuit state upon contact. While in this state, Jahoda moves continuously and swiftly: If nearby opponents are affected by Pyro, Hydro, Electro, or Cryo, she will quietly convert her Purr-loined Treasure Flask to that element, gradually filling it. When the duration ends or the skill is used again, Jahoda drains the Purr-loined Treasure Flask and deals a single instance of Anemo DMG to nearby opponents. When the Purr-loined Treasure Flask is full, Jahoda immediately drains it, exiting the Shadow Pursuit state and dealing a more powerful instance of Anemo DMG.
If her dash fails to make contact with an opponent, Jahoda instead drops a Smoke Bomb at her location, dealing a single instance of Anemo DMG to nearby opponents.
Moonsign: Ascendant Gleam: When the Purr-loined Treasure Flask becomes full, Jahoda will not immediately discharge it. Instead, for a short duration, she steadily consumes the stored element inside and periodically fires Fluffy Meowballs at nearby opponents, dealing DMG of the corresponding element stored in the Purr-loined Treasure Flask. When a Fluffy Meowball hits an opponent, Jahoda regenerates 2 Elemental Energy. This effect can be triggered once every 3.5s.
Jahoda’s Elemental Skill makes up the majority of her damage and application. Her Skill only applies and deals damage from off-field in Ascendant Gleam teams; otherwise, it just does one instance of Anemo damage.
When Jahoda uses her Skill, she dashes towards an enemy, entering the Shadow Pursuit state. During this state, Jahoda absorbs Elements from nearby enemies into her Flask. Once the Flask is fully charged up, Jahoda will start to discharge it. In non-Ascendant Gleam teams, she immediately discharges her entire Flask, dealing one instance of Anemo damage. In Ascendant Gleam teams, in addition to this Anemo damage instance, Jahoda slowly discharges her Flask, summoning Flurry Meowballs every 2s that deal Elemental damage of whichever Element the Flask absorbed. If there is more than one Element present on the enemies when Jahoda’s Flask begins to charge up, it absorbs the Element of the highest priority, in the following order: Pyro > Hydro > Electro > Cryo (standard PHEC Absorption priority).
 Elemental Burst | Hidden Aces: Seven Tools of the Hunter
Talent Description
Time to reveal those pocket aces! Jahoda retrieves 2 Purrsonal Coordinated Assistance Robots and deals a single instance of Anemo DMG to nearby opponents.
Jahoda’s Elemental Burst provides healing that scales with Jahoda’s ATK as well as additional damage and application. Similar to her Skill, her Burst can only deal PHEC damage in Ascendant Gleam teams; otherwise, it deals one instance of Anemo damage and provides healing.
When Jahoda uses her Burst, she deals one single Anemo damage instance and summons two Robots that heal the active character, plus an off-field teammate if the on-fielder’s HP is above 70%. Additionally, in Ascendant Gleam teams, Jahoda will convert her Robots to the Elements affecting nearby enemies, and these Converted Robots will deal corresponding Elemental damage. When there is more than one Element present, Jahoda’s Robots convert to the highest priority Element following the standard PHEC Absorption priority. Each Robot’s conversion occurs independently in sequence, so Jahoda can have Robots of different Elements at the same time.
 Ascension 1 Passive | Plan to Get Paid
Talent Description
When your team has at least one Pyro, Hydro, Electro, or Cryo character, the Purrsonal Coordinated Assistance Robots
Purrsonal Coordinated Assistance RobotsOne of the gadgets that Jahoda — a former treasure hunter — carries around with her. It is deployed upon using her Elemental Burst Hidden Aces: Seven Tools of the Hunter.
Purrsonal Coordinated Assistance Robots continuously restore HP to your active character. If the healed character’s HP is above 70%, they also restore HP to the nearby party member with the lowest HP.
Moonsign: Ascendant Gleam: If nearby opponents are affected by Pyro, Hydro, Electro, or Cryo, Purrsonal Coordinated Assistance Robots will convert to that element. The order of priority that determines which element will be converted to is: Pyro, Hydro, Electro, then Cryo. After each deployment, a Purrsonal Coordinated Assistance Robot can undergo one such conversion. After converting, the Purrsonal Coordinated Assistance Robot will periodically attack up to 3 nearby opponents, dealing damage of the corresponding element. from the Elemental Burst Hidden Aces: Seven Tools of the Hunter will be enhanced based on the number of characters of each corresponding element.
Jahoda secretly keeps track of these characters. Among them, the element with the highest number of characters determines the enhancement effect:
- Pyro: Purrsonal Coordinated Assistance Robots deal 130% of their original DMG.
- Hydro: Purrsonal Coordinated Assistance Robots heal for 120% of their original healing amount.
- Electro: The number of Purrsonal Coordinated Assistance Robots increases by one.
- Cryo: The attack interval of Purrsonal Coordinated Assistance Robots is reduced by 10%.
If there’s a tie between elements, the order of priority that determines which enhancement takes effect is: Pyro, Hydro, Electro, then Cryo. Only one elemental effect can initially be triggered.
Jahoda’s Robots from her Burst are enhanced based on the PHEC Element with the highest number of characters in the team. In case of a tie, this passive’s effect will be decided by the Element of higher priority (according to the standard PHEC Absorption priority). Note that the effects of this passive are applied to all Robots regardless of their converted Elements, including non-converted ones. While this passive does not require Moonsign: Ascendant Gleam to activate, its effects are mostly for converted Robots’ damage, which requires Ascendant Gleam.
 Ascension 4 Passive | Sweet Berry Bounty
Talent Description
When a Purrsonal Coordinated Assistance Robot from the Elemental Burst Hidden Aces: Seven Tools of the Hunter triggers healing on an active team member, if that character’s HP is above 70%, their Elemental Mastery will be increased by 100 for 6s.
When Jahoda’s Robots trigger a healing effect on an active character whose HP is over 70%, said character gains 100 EM for 6 seconds. Since the Robots are active for 12 seconds with a cooldown of 18 seconds, this passive can have close to full uptime on the on-field character, depending on rotation. This buff takes effect even without Ascendant Gleam.
Moonsign Benediction Passive: Rooftop Dash
Jahoda raises the team’s Moonsign Level by 1, a standard passive for all Nod-Krai characters. This makes her a considerable option for other Moonsign teammates.
Constellations
 Constellation 1 | One More Flask!
Constellation Description
When a Fluffy Meowball fired by the Purr-loined Treasure Flask from the Elemental Skill Savvy Strategy: Splitting the Spoils hits an enemy, there is a 50% chance for it to bounce, dealing the corresponding Elemental DMG to nearby opponents.
Jahoda’s Fluffy Meowballs from her Skill now have a 50% chance to bounce to nearby opponents, dealing the same base damage. This increases the Skill’s damage output and slightly improves its Elemental Application.
 Constellation 2 | Rogue’s Quick Thinking
Constellation Description
Moonsign: Ascendant Gleam: In the Ascension Talent “Plan to Get Paid,” Jahoda can secretly track, in addition to the element with the highest number of characters, the element with the next highest number of characters among the remaining types. This allows up to two elemental effects to be active at once. You must first unlock the Ascension Talent “Plan to Get Paid.”
In Ascendant Gleam teams, Jahoda simultaneously tracks 2 Elements with the corresponding highest and second-highest numbers of teammates, allowing her A1 Passive to have 2 active effects at the same time.
 Constellation 3 | Desperate Gamble
Constellation Description
Increases the Level of Hidden Aces: Seven Tools of the Hunter by 3.
Maximum upgrade level is 15.
This Constellation gives an increase to her Burst’s Talent Level, which translates to better healing and some minor damage improvement.
 Constellation 4 | Wild Berry Amid the Dust
Constellation Description
When a Purrsonal Coordinated Assistance Robot from the Elemental Burst Hidden Aces: Seven Tools of the Hunter undergoes an Elemental Conversion, Jahoda will recover 4 Elemental Energy.
Each time a Robot from Jahoda’s Burst undergoes an Elemental conversion, she gains 4 flat Energy. She can gain, at most, 12 Energy from this Constellation by having three Robot Conversions (with her A1 Passive), thus greatly reducing her ER requirements.
 Constellation 5 | The Greatest Treasure
Constellation Description
Increases the Level of Savvy Strategy: Splitting the Spoils by 3.
Maximum upgrade level is 15.
This Constellation gives additional Talent levels to her Skill, which is her main source of damage.
 Constellation 6 | The Littlest Luck
Constellation Description
Moonsign: Ascendant Gleam: After the Purr-loined Treasure Flask from the Elemental Skill Savvy Strategy: Splitting the Spoils is full, nearby Moonsign characters in your party have their CRIT Rate increased by 5% and CRIT DMG increased by 40% for 20s.
In Ascendant Gleam teams, when Jahoda fills up her Skill’s Flask, nearby Moonsign characters (including her) gain a substantial 5% CRIT Rate and 40% CRIT DMG buff for 20s. This is her best Constellation, rendering her a competitive support option for many Moonsign characters.
Combos
Combo Notation
- N = Normal Attack
- C = Charged Attack
- A = Aimed Shot
- P = Plunging Attack
- hP = High Plunge
- lP = Low Plunge
- E = Elemental Skill
- tE = Tap Skill
- hE = Hold Skill
- Q = Elemental Burst
- D = dash (cancel)
- J = jump (cancel)
- W = walk (cancel)
- > = switch character
- ( ) = these actions are optional; please refer to the notes below
- [ ] = repeat these actions the specified number of times
| EQ | Standard combo to charge up Jahoda’s Flask and let her catch her own particles before the Burst is cast. Note that it will take a few seconds for the Flask to charge. |
| EEQ | If Jahoda’s Meowball attacks are not needed, or if the team’s Moonsign is not Ascendant Gleam, she can skip her Flask’s charging time for shorter field time. Press the Skill a second time or perform a Normal Attack while she is charging to cancel it. Note that Jahoda’s C6 cannot be activated without her Skill’s Flask charging up. |
Artifacts
ER Requirements
With Favonius Warbow
| C0 | C4 | |
| Double Electro | 190–205% | 150–160% |
| Double Anemo | 145–180% | 115–140% |
| Other | 200–255% | 170-220% |
With Other Bows
| C0 | C4 | |
| Double Electro | 225–250% | 175–195% |
| Double Anemo | 165–215% | 130–165% |
| Other | 240–330% | 205–285% |
Assumptions: 1 Favonius proc on each feasible teammate. (Jahoda’s ER requirements can be lowered by 10–30% for each additional teammate Favonius proc.)
Use the Energy Recharge Calculator to determine exact requirements for your team and rotation. For more details on how Favonius weapons will affect your team, please use Ac1d’s Favonius Mastersheet.
Artifact Stats
 Sands |  Goblet |  Circlet |
| ER or ATK% | ATK% | CRIT Rate | Healing Bonus > ATK% |
Stat Priority: ER (until requirement) > ATK% > CRIT (> EM*)
Since Jahoda does not usually deal significant damage, it is recommended to build her for healing by focusing on ATK and ER. You should also build CRIT Rate if using Favonius Warbow.
*EM can be built if Jahoda deals reaction damage in the team via her Skill and Burst’s PHEC application. EM can become more valuable if Jahoda’s reaction damage is significant, but this rarely happens.
Artifact Sets
 4pc Viridescent Venerer (VV) | As an Anemo support, Jahoda’s most natural artifact option is 4pc VV. However, it must be noted that Jahoda’s Skill and Burst both have long cooldowns and only deal one instance of Anemo damage each. This makes VV uptime with Jahoda somewhat unreliable, especially in multi-wave fights. |
 4pc Silken Moon’s Serenade (SMS) | Jahoda can activate the 4pc effect of SMS to give a teamwide 60/120 EM buff depending on the team’s Moonsign Level. This set is beneficial for many reaction-focused teams, especially the ones with Lunar reactions; however, other teammates can hold it in Jahoda’s stead to allow her to run other buffing sets. |
 4pc Tenacity of the Millelith (TotM) | Jahoda’s Skill hits once every 2s in Ascendant Gleam teams, which makes her a perfect holder of the set for ATK-scaling teammates. |
 4pc Instructor | 4pc Instructor gives the entire team a big 120 EM buff, making it a potential option for Jahoda when 4pc VV is not as valuable (e.g. in Nefer teams). |
4pc Deepwood Memories (Deepwood) | Jahoda can use 4pc Deepwood in Nefer teams, as 4pc VV and 4pc TotM are useless. |
Weapons
Jahoda heals enough regardless of her weapon options, and her damage performance is rather lackluster. Thus, only Bows that give team utility or help her reach ER requirements more easily will be listed here.
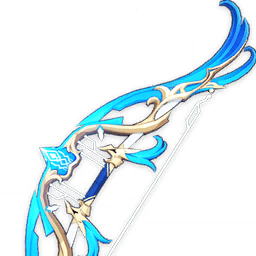 Elegy for the End | Premium option to give Jahoda’s team an EM and ATK% buff. She can quickly activate Elegy’s passive thanks to her multiple Skill and Burst hits, and the weapon’s ER secondary stat helps Jahoda meet her ER requirements. |
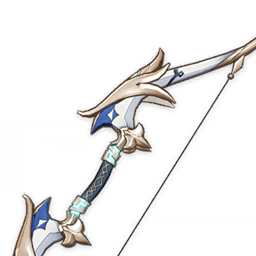 Favonius Warbow | Default option due to its advantageous Energy generation passive, which helps many teammates. |
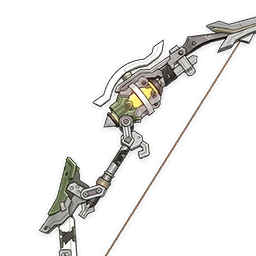 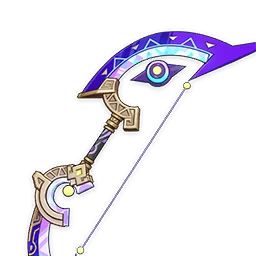  Snare Hook, Rainbow Serpent’s Rain Bow, End of the Line | Weapons with ER secondary stats. Among them, Rainbow Serpent’s Rain Bow improves Jahoda’s healing the most with its ATK passive. However, using a more supportive weapon, such as Favonius Warbow, is preferred. |
Teams
Rotation Notation
- N = Normal Attack
- C = Charged Attack
- A = Aimed Shot
- P = Plunging Attack
- E = Elemental Skill
- tE = Tap Skill
- hE = Hold Skill
- Q = Elemental Burst
- D = dash (cancel)
- J = jump (cancel)
- W = walk (cancel)
- > = switch character
- ( ) = these actions are optional; please refer to the notes below
- [ ] = repeat these actions the specified number of times
Teambuilding
Jahoda activates Ascendant Gleam for other Moonsign teammates. Likewise, Jahoda’s off-field PHEC damage and application from both her Skill and Burst are locked behind Moonsign: Ascendant Gleam. This restricts her to teams with at least another Moonsign (Nod-Krai) character, provided players want to play her kit in its entirety.
Ascendant Gleam General Support

In addition to enabling Ascendant Gleam, Jahoda provides decent buffs (A4’s EM and C6’s CRIT), good off-field Elemental application, and modest healing.
Notable Teammates
Moonsign Characters
Jahoda co-activates Ascendant Gleam with these characters, benefitting both parties by enabling kits, weapons, and artifacts that rely on Moonsign Level.
 Flins | Jahoda is a solid support option in Flins teams. She consolidates Moonsign Level increase, healing, VV RES Shred, and team buffs (her A4 and C6) into one slot. She can also act as the primary Hydro applier with her off-field Skill and Burst, allowing Flins to play with any Hydro teammates regardless of their Elemental Application. |
 Nefer | Nefer uses Jahoda for |
 Ineffa | Ineffa does not rely on Ascendant Gleam as much as Flins and Nefer. However, Jahoda’s EM buff and high-uptime off-field application are valuable assets for Ineffa’s Lunar-Charged teams. |
Example Teams
This is not a comprehensive list of teams. The inclusion or exclusion of any given team does not necessarily reflect its power level.

Jahoda can absorb and then apply Hydro via her Skill and Burst, essentially functioning as a second Hydro applier for the team. This allows Hydro units with inconsistent application to work better in Flins teams.
Sample Rotation
Mona (Q N4)¹ E > Fischl E/Q > Jahoda EQ > Flins combo
¹Do when Burst is available, which may not be every rotation.

This Overvape team utilizes Jahoda’s off-field Hydro application to ensure high Hydro aura uptime for both Lunar-Charged and Vaporize.
Sample Rotation
Mona E > Ineffa E (Q)¹ > Jahoda EQ > Durin 2[E] Q > Mona Q 2[N4D]²
¹Burst when available
²If Ineffa’s Burst is not ready, do 3[N4D]

In this team, Jahoda builds Furina’s Fanfare with her healing while dealing decent personal damage thanks to Furina’s DMG Bonus and the Lunar-Charged reaction enabled by Ineffa.
Sample Rotation
Furina ED Q > Ineffa E (Q)¹ > Jahoda EQ > Ifa combo
¹Burst when available

Jahoda is typically only worth using at C6 in Nefer teams since her buffing capability is lackluster compared to her required field time. Nevertheless, players without stronger sustain options can ignore Jahoda’s Skill’s off-field application and use her solely as a healer for the team, even before C6.
In this team, Jahoda can end her Skill’s charging phase earlier by pressing the Skill again. This does not activate her C6, however, so it should only be done at lower Constellations.
Sample Rotation
Xingqiu E/Q N1¹ > Jahoda EQ > Lauma tEQ > Nefer combo
¹Alternate between E and Q N1 each rotation to save field time.
Limited Roster Alternatives
These teams are meant for new players whose limited roster prevents them from using the teams above and will result in lower damage output.

Jahoda can use either 4pc TotM or 4pc Noblesse Oblige while Aino is on 4pc SMS. Sucrose should hold 4pc VV, and Fischl should be on her usual 4pc Golden Troupe.
Sample Rotation
Fischl E > Aino QE > Jahoda EQ > Sucrose E N4 spam¹ > Fischl Q > Sucrose (E)²Q N4 spam¹
¹Until Oz leaves the field.
²If Sucrose is C1+ or uses Sacrificial Fragments, she can use her Skill twice in a rotation.
General Healer

Outside of Ascendant Gleam teams, Jahoda is still a good Anemo healer who provides a 100 EM buff to the active character receiving her healing. As Jahoda’s Skill cannot deal off-field PHEC damage without Ascendant Gleam, her Skill should be double-tapped to cancel its charging and save field time.
Credits
Writer(s): acerbus114, baloopy, .whalien
Contributors: pulsar79., madeofseaglass (Marvel)
Team images made with the KQM portrait generator.

