Updated for Version 5.6

Yae Miko is a 5★ Electro Catalyst character in Genshin Impact who deals long-term, consistent off-field Electro damage. Learn about Yae Miko’s best builds, best weapons, best artifacts, and best teams in this quick guide.
Note that the information given may change if new discoveries are made. More extensive testing is in progress.
The full-length guide is available here. It is currently updated for Version 4.5.
Table of Contents
Infographic
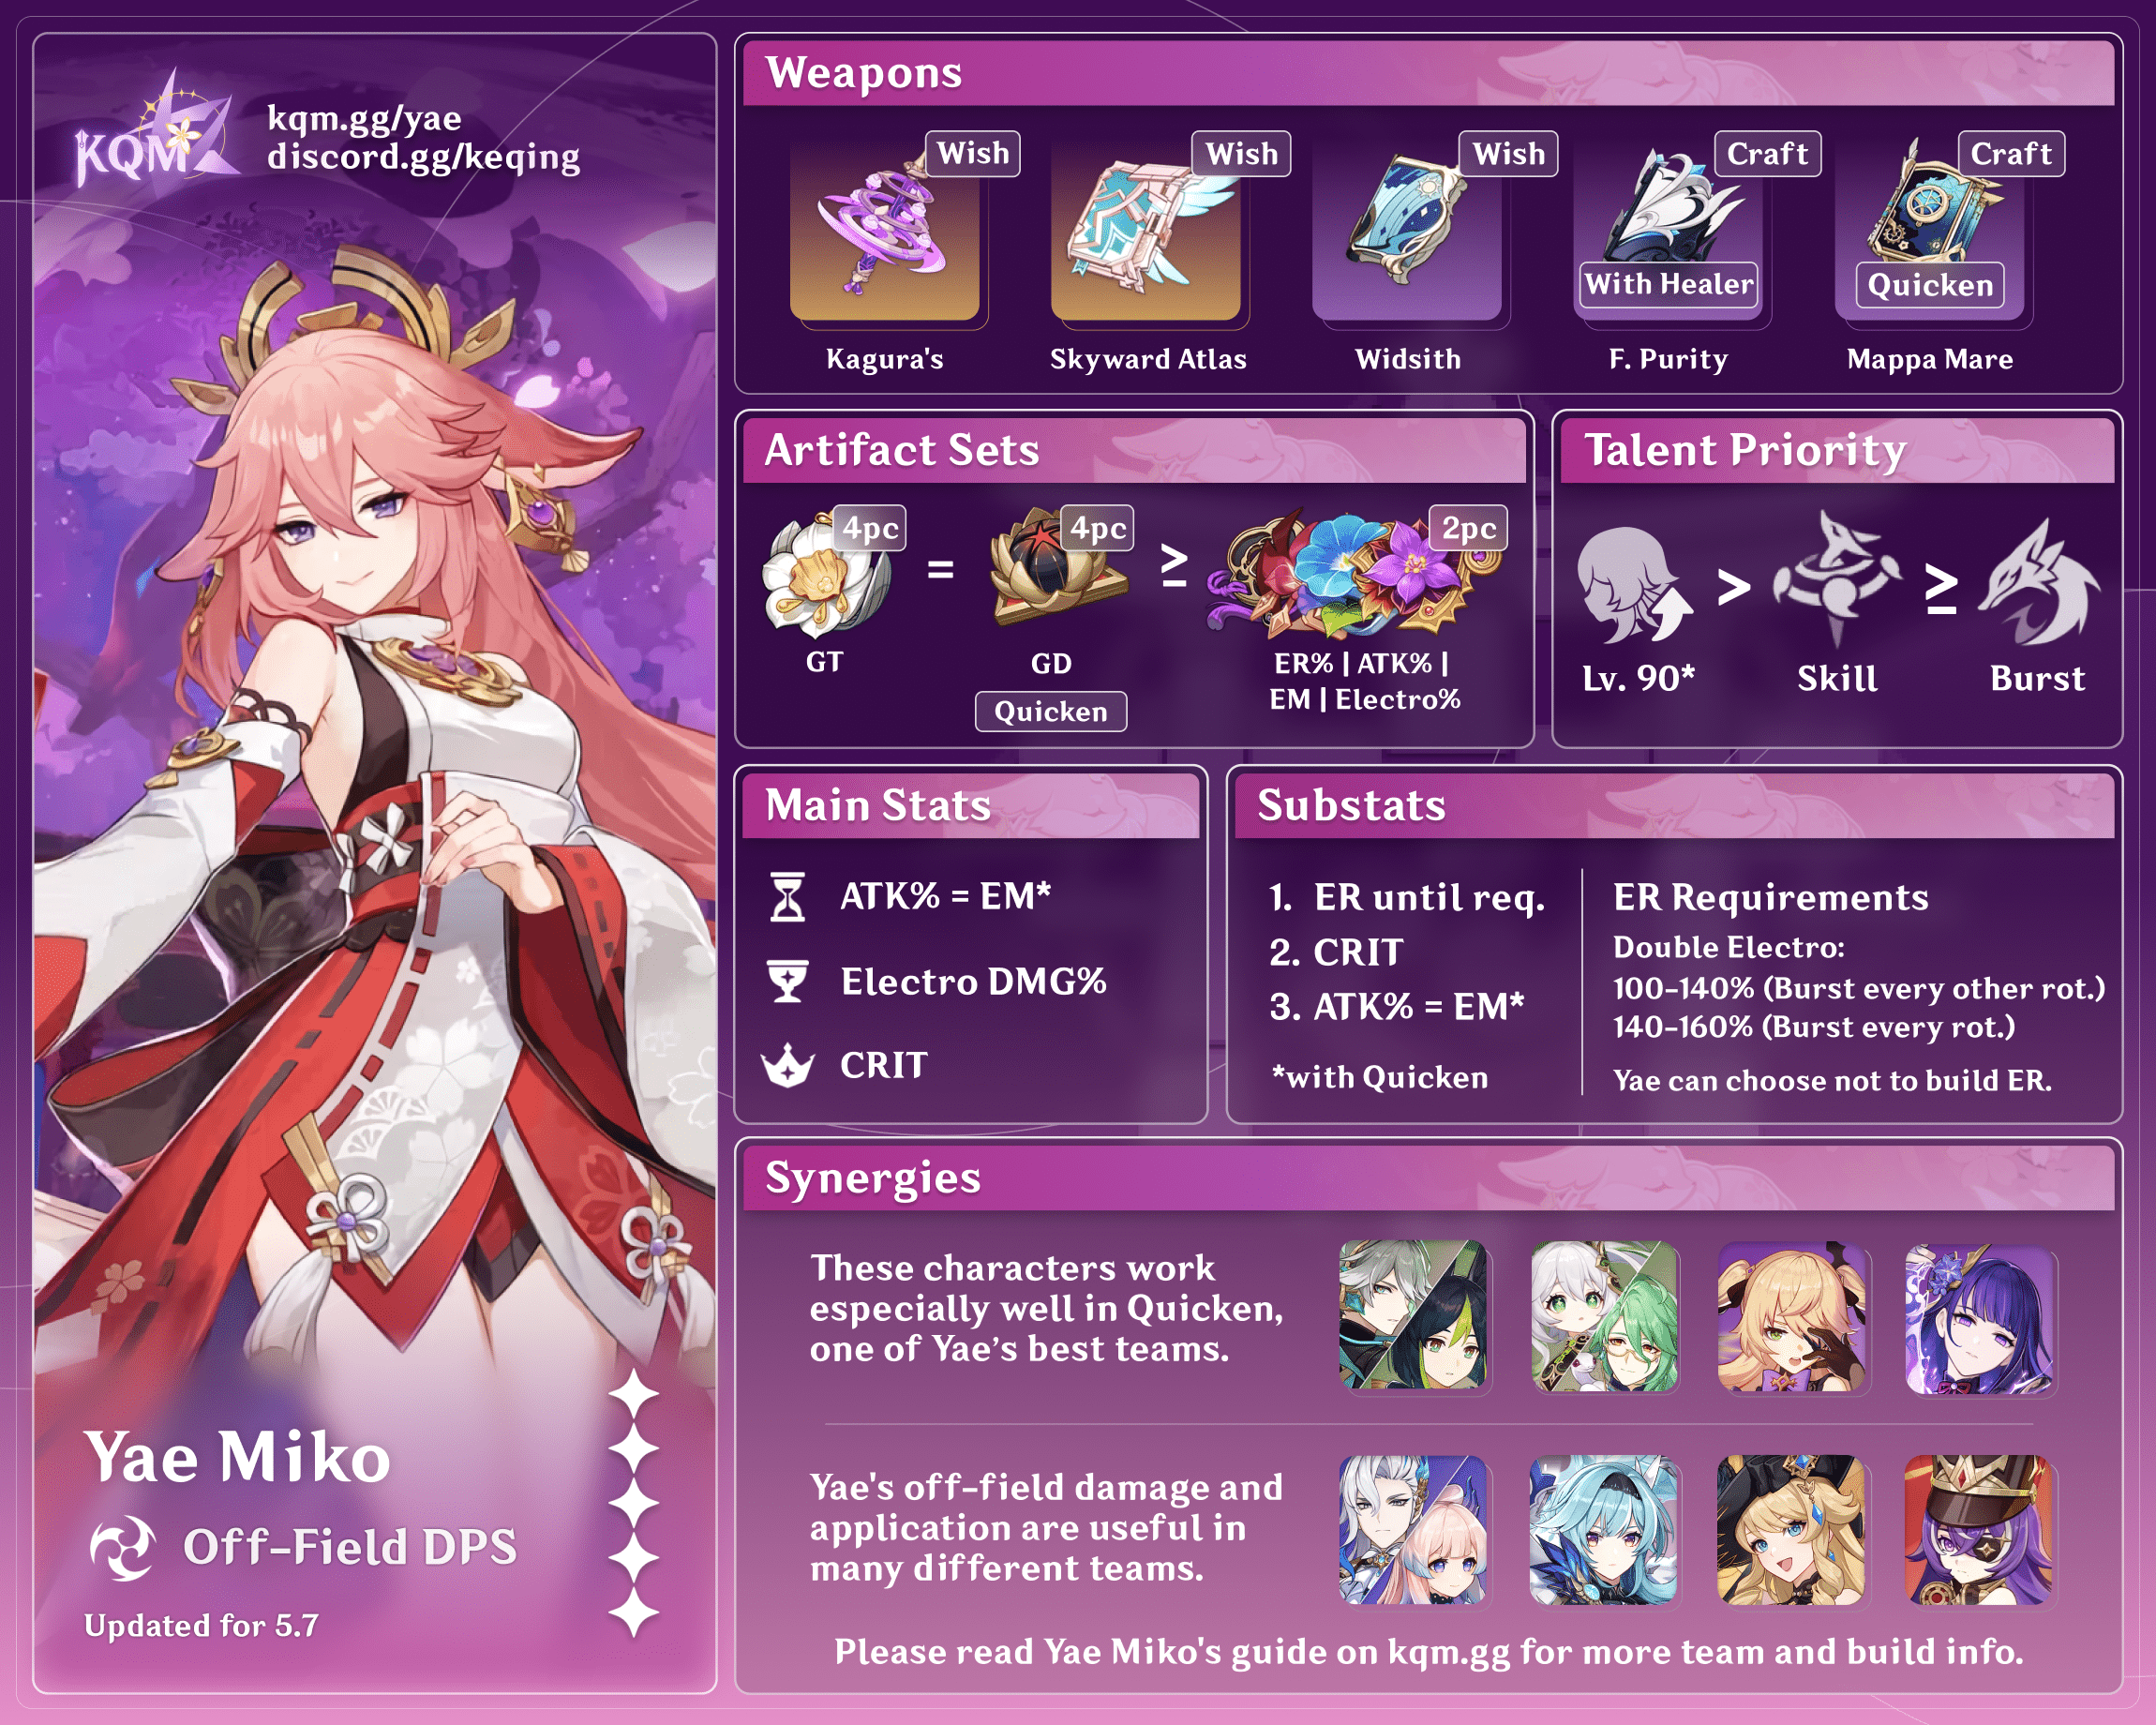
Credits to: euphorysm, baloopy, and KQM Staff
Character Overview
Pros
- High single-target damage
- Flexible rotations
- Good Skill range
- Powerful nuke with her Burst
- Easy gameplay
Cons
- Long setup time
- Requires battery to use her Burst every rotation
Playstyles
Off-field DPS
Due to the Sesshou Sakura turrets from her Skill being able to fire for long periods of time, Yae is best used as an off-field DPS. She will typically set up with her Elemental Skill first, allow her team to rotate in and out, then come back on-field to cast her Burst and reset her Skill before going back off-field.
On-field DPS / Driver
Yae can also be played as an on-field DPS. Although similar to the off-field playstyle, Yae instead remains on-field after resetting her Skill, weaving in Normal and Charged Attacks. Combos for this playstyle are covered in the Combos section. Do note that Yae has no invulnerability frames on her Elemental Skill cast and does not have any bonus interruption resistance so she is prone to being interrupted.
Talents
Talent Priority
Skill >= Burst > Normal Attack
Yae’s Skill accounts for most of her damage, so it should always be your priority to level. However, in some teams like Raiden — Bennett — Kazuha, Yae’s Burst deals roughly the same amount of damage as her Skill.
Yae’s Normal Attacks, even when she is driving, typically do not deal massive amounts of damage. As such, leveling her Normal Attack Talent level isn’t that important.
In Aggravate teams, you should raise Yae to Level 90, since this massively increases her Aggravate damage. Outside of Aggravate teams, leveling Yae to 90 is not particularly important, though ascending her to 80/90 is recommended.
In a Skill-only Yae playstyle, her Burst and Normal Attack are not used, so don’t level them.
Talent Overview
 Normal Attack | Spiritfox Sin-Eater
Talent Description
Normal Attack
Summons forth kitsune spirits, initiating a maximum of 3 attacks that deal Electro DMG.
Charged Attack
Consumes a certain amount of Stamina to deal Electro DMG after a short casting time.
Plunging Attack
Plunges towards the ground from mid-air, damaging all opponents in her path with thunderous might. Deals AoE Electro DMG upon impact with the ground.
Yae has beautiful Normal and Charged Attack animations, but they aren’t relevant most of the time. The vast majority of Yae’s damage comes from her Elemental Skill and Burst, which leaves her NAs as a means to drive teammate abilities.
Driver Potential
Yae is an excellent driver for Fischl, especially in Aggravate teams. Additionally, the lack of Internal Cooldown (ICD) on her CAs lets each one trigger Aggravate.
On-Field Combo
The best combo to weave in CAs is N2C, since it balances Stamina usage with high damage and Electro application. N1C is also an option if you’re crunched for time and need to defeat an enemy quicker at the end of a chamber.
Charged Attack Cancels
Regardless of the combo, Yae’s CA has a long delay before she can use another attack. This delay can be canceled by dashing or jumping immediately after performing a CA.
Plunging Attacks
Yae only uses her Plunging Attacks when she is the on-field DPS in a team with Xianyun.
 Elemental Skill | Yakan Evocation: Sesshou Sakura
Talent Description
To Yae, such dull tasks as can be accomplished by driving spirits out need not be done personally.
Moves swiftly, leaving a Sesshou Sakura behind.
Sesshou Sakura
Has the following properties:
- Periodically strikes one nearby opponent with lightning, dealing Electro DMG
- When there are other Sesshou Sakura nearby, their level will increase, boosting the DMG dealt by these lightning strikes.
This skill has three charges.
A maximum of 3 Sesshou Sakura can exist simultaneously. The initial level of each Sesshou Sakura is 1, and the initial highest level each sakura can reach is 3. If a new Sesshou Sakura is created too close to an existing one, the existing one will be destroyed.
This is Yae’s primary source of damage and defining talent. Each turret will fire up to 5 shots, for a maximum of 15 total shots, for its duration and does not snapshot. It is important to refresh them before they expire (if the rotation so permits) to maintain consistent DPS and allow Yae to make full use of her Elemental Burst.
In addition, you should lay her totems out in a pattern where all three are connected to one another. Each line of connection “levels up” the turrets, which allows them to deal more damage.
 Elemental Burst | Great Secret Art: Tenko Kenshin
Talent Description
Legends of “kitsunetsuki,” or the manifestations of a kitsune’s might, are common in Inazuma’s folktales. One that particularly captures the imagination is that of the Sky Kitsune, said to cause lightning to fall down upon the foes of the Grand Narukami Shrine. Summons a lightning strike, dealing AoE Electro DMG.
When she uses this skill, Yae Miko will unseal nearby Sesshou Sakura, destroying their outer forms and transforming them into Tenko Thunderbolts that descend from the skies, dealing AoE Electro DMG. Each Sesshou Sakura destroyed in this way will create one Tenko Thunderbolt.
Yae’s Elemental Burst is a high-damaging, four-hit nuke that relies on the number of turrets spawned at the time of casting. To maximize the damage of this Talent, make sure to cast her Burst within the duration of the turrets.
 Ascension 1 Passive | The Shrine’s Sacred Shade
Talent Description
When casting Great Secret Art: Tenko Kenshin, each Sesshou Sakura destroyed resets the cooldown for 1 charge of Yakan Evocation: Sesshou Sakura.
This Talent resets the cooldown of her Elemental Skill charges after the turrets are destroyed by her Elemental Burst. This Passive defines her rotation building in teams, allowing her to have almost 100% uptime on turrets while also letting her Burst when needed.
 Ascension 4 Passive | Enlightened Blessing
Talent Description
Every point of Elemental Mastery Yae Miko possesses will increase Sesshou Sakura DMG by 0.15%.
With the addition of Dendro, Yae can make better use of this Ascension Passive. In Aggravate teams, Yae can double dip in her EM on her Aggravated Elemental Skill hits. In many scenarios, this allows EM to be competitive with ATK% for stats; however, Yae still does not want to purely stack EM. In addition, due to ICD on her Elemental Skill, she does not proc Aggravate frequently enough for EM to be strictly better than ATK%. More details on EM breakpoints and differences between ATK% and EM in the Artifact Stat section.
Outside of Dendro, this Ascension Passive is not worth investing in and does not make a significant contribution, though it does allow Yae to benefit slightly from incidental EM buffs and EM substats.
Constellations
Calcs for Constellation DPS increases can be found here (last updated for Version 4.5).
 Constellation 1 | Yakan Offering
Constellation Description
Each time Great Secret Art: Tenko Kenshin activates a Tenko Thunderbolt, Yae Miko will restore 8 Elemental Energy for herself.
With all 3 Sesshou Sakura, this Constellation restores up to 24 Energy. This is a huge decrease to her ER requirements, reducing by 27% multiplicatively. For example, a 200% ER requirement drops to 146%, 150% drops to 110%, etc.
This is an especially valuable Constellation for off-field Yae. However, it is less impactful in Yae’s driver teams, especially ones with Fischl, as Yae’s ER requirements are much lower. Furthermore, it is completely useless in Skill-only teams. Nonetheless, it still is a nice, general Quality of Life improvement.
Note that the Tenko Thunderbolts do not have to hit an enemy to restore Energy.
 Constellation 2 | Fox’s Mooncall
Constellation Description
Sesshou Sakura start at Level 2 when created, their max level is increased to 4, and their attack range is increased by 60%.
Yae’s C2 is a powerful Constellation that increases both the range and damage of her Elemental Skill.
Range
The increase to her Skill’s range is quite nice. When placed in the center of a Spiral Abyss chamber, Yae’s totems can hit any enemy wherever they are.
Damage
Yae’s C2 increases the damage of her Skill by increasing the level of her Sesshou Sakura. The increased level increases the base multipliers by 25%.
The overall damage buff provided by this Constellation is reduced in Aggravate teams, since her Sesshou Sakura’s damage is buffed through other sources.
 Constellation 3 | The Seven Glamours
Constellation Description
Increases the Level of Yakan Evocation: Sesshou Sakura by 3.
Maximum upgrade level is 15.
A Talent level increase for Yae’s Elemental Skill, her primary form of damage. This is quite valuable, but in Aggravate the value is slightly reduced.
 Constellation 4 | Sakura Channeling
Constellation Description
When Sesshou Sakura lightning hits opponents, the Electro DMG Bonus of all nearby party members is increased by 20% for 5s.
Yae’s C4 Electro DMG% buff benefits not only her allies, but also herself. She can maintain 100% uptime on this buff, resulting in a constant 20% Electro DMG Bonus for the entire team. As Yae usually pairs with another Electro character, this is very powerful.
 Constellation 5 | Mischievous Teasing
Constellation Description
Increases the Level of Great Secret Art: Tenko Kenshin by 3.
Maximum upgrade level is 15.
A Talent level increase to her Elemental Burst. This is good for nuking with her Burst, but it is a bit lackluster compared to her Skill-buffing Constellations.
 Constellation 6 | Forbidden Art: Daisesshou
Constellation Description
The Sesshou Sakura’s attacks will ignore 60% of the opponent’s DEF.
Yae’s final Constellation is a hefty damage increase to her Elemental Skill damage, functioning similarly to Raiden’s C2. Please keep in mind that the DEF Ignore is restricted to only her Skill’s damage.
Combos
Combo Notation
- N = Normal Attack
- C = Charged Attack
- A = Aimed Shot
- P = Plunging Attack
- E = Elemental Skill
- tE = Tap Skill
- hE = Hold Skill
- Q = Elemental Burst
- D = dash (cancel)
- J = jump (cancel)
- W = walk (cancel)
- > = switch character
- ( ) = these actions are optional; please refer to the notes below
- [ ] = repeat these actions the specified number of times
| Combo | Usage |
| 3[E] > Swap > Q 3[E] | Standard setup and Burst cast combo. Make sure to rotate through other units as much as possible before going back onto Yae to make as much use of the starting turrets. |
| N2CJ / N2CD | Her primary on-field attack combo for damage. Provides a good balance of Stamina management and ease of use. |
| N1CJ / N1CD | Alternative to the combo above, higher DPS when repeated but at the cost of more rapid Stamina usage. For best results, alternate between the two combos. |
| N1E | Used mainly to squeeze out an extra Aggravate or to proc certain passives and abilities, such as Fischl’s A4 or Xingqiu’s Burst. The N1 animation can be canceled extremely early and takes almost no time. |
| N1E E N1E | Extended version of the above combo to squeeze the most damage in the least amount of time. Best used for on-field Yae. |
Artifacts
ER Requirements
| C0 | C1 | |
| Raiden | 140–150% | 100% |
| Off-Field With Fischl | 130% | 100% |
| On-Field With Fischl | 100–110% | 100% |
Favonius weapons reduce Yae’s ER requirements by approximately 10% per proc.
Use the Energy Recharge Calculator to determine exact requirements for your team and rotation. For more details on how Favonius weapons will affect your team, please use Ac1d’s Favonius Mastersheet.
Artifact Stats
 Sands |  Goblet |  Circlet |
| ATK% / EM | Electro DMG Bonus | CRIT Rate / CRIT DMG |
Stat Priority: ER (until requirements) > CRIT > ATK% >= EM
EM is only desirable in Aggravate teams. Aim for around 100-300 EM in those teams before focusing on ATK% stats.
In Aggravate, ATK% Sands are usually better than EM Sands, especially with 5-star weapons, but the difference is small. A good EM Sands is often better than a mediocre ATK% Sands.
EM Sands can be strictly better than ATK% Sands in teams where Yae has high Hyperbloom ownership and trigger rate. Outside of Aggravate and Hyperbloom, EM is often just dead weight.
Aim for a 1:2 CRIT ratio after accounting for all CRIT buffs.
Artifact Sets
Calcs for artifact set comparisons can be found here (last updated for Version 4.5).
 4pc Emblem of Severed Fate | This is Yae Miko’s best option at C0 in non-Aggravate teams where she can consistently use her Burst. Its 2pc set bonus and 4pc ER% to Burst DMG% conversion help compensate for Yae’s typically high ER requirements. With Yae’s C1, 4pc Golden Troupe and 2pc mixed sets almost always outperform 4pc EoSF, since she has significantly lower ER requirements. |
 4pc Golden Troupe | A very powerful set that is her Best in Slot in Aggravate teams, and comparable to Emblem in non-Aggravate teams as it does not benefit Yae’s Burst at all. Regardless, it is still one of her strongest options. From C1 onwards, Yae’s ER requirements plummet, causing 4pc Golden Troupe to become Yae’s optimal artifact set. This also applies when using weapons with ER% secondary stats or passives like Oathsworn Eye. |
 4pc Gilded Dreams | This set is only useful in Aggravate. It gives Yae a massive amount of EM and ATK%, making it her generally second best set in Aggravate. If Burst damage is highly valued, e.g., when the enemy has an HP threshold, when there are multiple waves, or when speedrunning, it can outperform 4pc Golden Troupe. Despite this, 4pc Gilded Dreams is only a very small improvement over 2-piece combinations. If you do not intend on obtaining a high quality 4pc Deepwood Memories set, it may not be best to farm for. |
 4pc Marechausee Hunter | A niche yet practical set for an on-field Yae when paired with Furina. In these teams, MH is Yae’s best set as its 4pc effect benefits all of her damage. |
 4pc Long Night’s Oath | Another niche set for Yae’s plunging playstyle with Xianyun. Yae can easily maximize its stacks by performing a Charged Attack and letting her turrets attack the enemies automatically. |
2pc Mixed Sets (Thundering Fury/Shimenawa/Noblesse/Golden Troupe) | 2-piece sets in order of general value: 1. Thundering Fury 2. ATK% 3. Golden Troupe 4. Noblesse Oblige 5. Emblem of Severed Fate. In addition to them being easier to farm, 2-piece set combinations make it easier to build Yae with comparable performance to her 4-piece sets. |
  4pc Tenacity of the Millelith, 4pc Scroll of the Hero of Cinder City | These sets sacrifice Yae’s damage in exchange for team damage. With similar artifact quality, the performance is not too much worse. 4pc TotM and 4pc Scroll’s values increase with strong teammates who can use its buff and decreases with a well-invested Yae. |
Weapons
Calcs for weapon comparisons can be found here (last updated for Version 4.5).
 5★ Kagura’s Verity | Yae’s best weapon. Though Kagura primarily buffs her Skill, it is far more reliable and consistently powerful than any other option. |
 5★ A Thousand Floating Dreams | A Thousand Floating Dreams provides a huge amount of EM to buff Yae’s Aggravate reactions, contributes to her A4 Skill’s DMG% buff, and buffs the entire team, which increases its value tremendously. Note that its value falls greatly in non-Aggravate. |
 5★ Tome of the Eternal Flow, Surf’s Up | These two weapons have good statline but useless passives. Not really that much better than Yae’s 4-star options. |
 5★ Cashflow Supervision, Tulaytullah’s Remembrance | The main strength of Cashflow Supervision and Tulaytullah’s Remembrance is their high Base ATK and moderate CRIT Rate secondary stat. |
 5★ Lost Prayer to the Sacred Winds | While it has decent stats, Lost Prayer’s Movement SPD is unneeded and the DMG% is quite low. |
 5★ Skyward Atlas | Skyward Atlas is a stat stick that provides unconditional ATK% and DMG%. |
 5★ Starcaller’s Watch, Sunny Morning Sleep-In | EM stat sticks primarily used in Aggravate and Hyperbloom teams, they can also be strong options in Overloaded ones if Overloaded is a large portion of Yae’s damage profile. |
 5★ Vivid Notions | Great option for Yae’s Plunging playstyle. Do a Plunging Attack each time Yae Skill is cast to maximize the weapon’s passive. Vivid Notions is still a good stat stick outside of Plunging teams. |
 4★ Oathsworn Eye | In non-Aggravate teams, Oathsworn Eye’s passive gives a very large amount of ER% while still providing high Base ATK and an ATK% substat. This allows Yae to move off 4pc Emblem of Severed Fate and onto 4pc Golden Troupe. |
 4★ The Widsith | All three of the Widsith’s buffs are highly valuable in Quicken teams, but its poor uptime holds it back compared to stronger weapons. |
 4★ Solar Pearl | To maximize the value of Solar Pearl, Yae Miko should perform a Normal Attack before using her Burst and after using her Skill. |
 4★ Flowing Purity | A high performing craftable Catalyst with a high ATK% secondary stat and a valuable Elemental DMG Bonus passive that requires a healer in the team to proc. It performs best when there is little ATK buffs from teammates, and can compete for the best 4★ option in such cases. |
 4★ Hakushin Ring | Her best free option in Aggravate Skill + Burst teams. Its buff can benefit the entire team. However, if the weapon’s passive cannot be activated (e.g., against an enemy with an incompatible innate Elemental aura), its value decreases significantly. Note that multiple Hakushin Rings do not stack their passive buff. |
 4★ Mappa Mare | Decent option in Dendro teams and most general free option. Do note that Yae needs to be on-field to trigger the passive. |
Teams
Rotation Notation
- N = Normal Attack
- C = Charged Attack
- A = Aimed Shot
- P = Plunging Attack
- E = Elemental Skill
- tE = Tap Skill
- hE = Hold Skill
- Q = Elemental Burst
- D = dash (cancel)
- J = jump (cancel)
- W = walk (cancel)
- > = switch character
- ( ) = these actions are optional; please refer to the notes below
- [ ] = repeat these actions the specified number of times
Teambuilding
Yae is commonly played with other Electro characters on the team. Her available playstyle largely depends on the Electro character who she is paired with. As such, the section below is split into teams with Raiden or Fischl. Other teams are examined at the end.
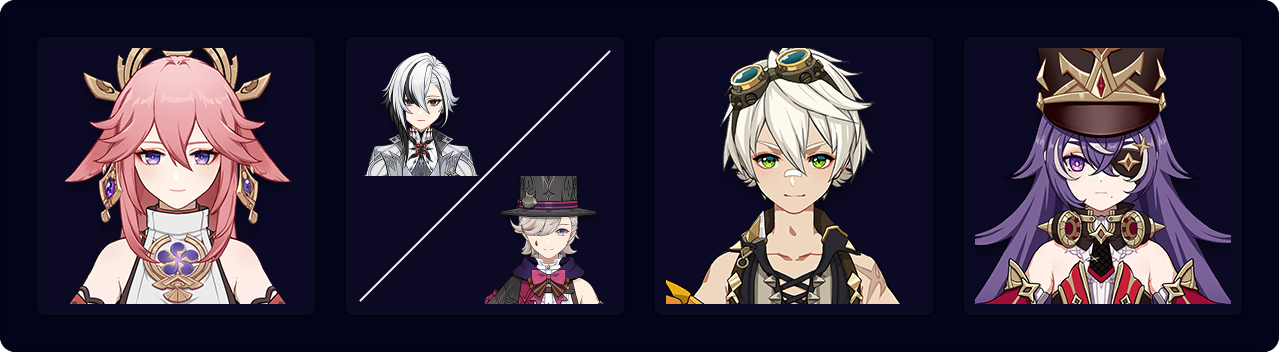
Yae Raiden Teams

Yae and Raiden complement each other well to form a powerful duo. Raiden significantly lowers Yae’s ER requirements and grants a sizable Burst DMG% buff, while Yae provides the most Resolve stacks of any character and deals consistent damage with her Skill.
Furthermore, their Bursts are extremely potent nukes. Yae often uses her Burst before Raiden to defeat a wave of enemies or reach an enemy HP threshold, which lets Raiden finish off the remaining enemies and recharge Yae’s Energy. Staggering their Bursts is especially effective for speedrunning against enemies with phase mechanics that would otherwise force additional downtime due to cooldowns.
Notable Teammates
Supports
Supports who can buff both Electro damage dealers are extremely valuable for the team.
 Sara | Sara is one of the premier buffers for Electro units, especially with her C6. She can buff Yae’s powerful Burst and a few Skill hits with her ATK and, at C6, CRIT DMG buffs after switching off while benefiting Raiden for her whole field time. |
Kazuha | Kazuha offers a valuable DMG Bonus buff from his A4 Passive on top of the ability to shred Electro RES with 4pc VV. His grouping and personal damage also contribute greatly in multi-target scenarios. |
 Sucrose | Sucrose can hold 4pc VV and buff the team with her EM share. This is valuable for Aggravate teams where EM is a good stat for both Yae and Raiden. She can also give further buffs with Hakushin Ring, a good support weapon for Electro teams. |
Xilonen | Xilonen provides similar buffs to Kazuha with RES Shred from her Skill and DMG Bonus from 4pc Scroll. However, her buffs last longer and persist through multiple enemy waves. She also heals for a comfy experience on both Yae and Raiden, however, her personal damage is near non-existent. |
 Chevreuse | Chevreuse enables Pyro-and-Electro-only Overloaded teams with her strong buffs in the forms of RES Shred, ATK% and, at C6, DMG Bonus. The last slot of the team is usually an off-field Pyro unit to maintain Chevreuse’s RES Shred uptime. Chevreuse’s healing is also appreciated by Raiden. |
 Bennett | Bennett gives a massive Flat ATK buff to the on-field unit and heals them while they are in his Burst circle. Yae appreciates his Burst to deal enhanced Burst damage, and while Bennett’s buff does not benefit all of Yae’s Skill hits, the first few Skill attacks still benefit from the Flat ATK buff as the buff lingers on for 2 seconds. |
 Furina | Furina records the HP changes of the team to give an accordingly sized teamwide DMG Bonus buff with her Burst. She also deals solid personal damage. However, Furina requires a decent healer in the team to stack her Fanfare and offset her HP drain. |
 Anemo for 4pc VV | Other Anemo characters can be used for 4pc VV’s RES Shred. Healers such as Jean, Xianyun, and Sayu are even more valuable for their sustain and synergy with Furina. |
 Zhongli | Zhongli provides a strong shield that prevents characters from taking too much damage and allows Yae to cast her Skills more freely without fear of getting interrupted. He also has buffing capability through the Universal RES Shred and ability to use supportive artifact sets such as 4pc Archaic Petra or 4pc TotM. |
Dendro
Using a Dendro unit turns the team into a Quicken based one where both Yae and Raiden trigger Aggravate for extra damage.


Other Off-Field DPS
Many off-field damage dealers can be slotted into the team without much caveats. Some of them also provide some buffing to increase Yae’s and Raiden’s damage. Characters with high ER requirements also benefit from Raiden’s Energy refund.


Example Teams
This is not a comprehensive list of teams. The inclusion or exclusion of any given team does not necessarily reflect its power level.
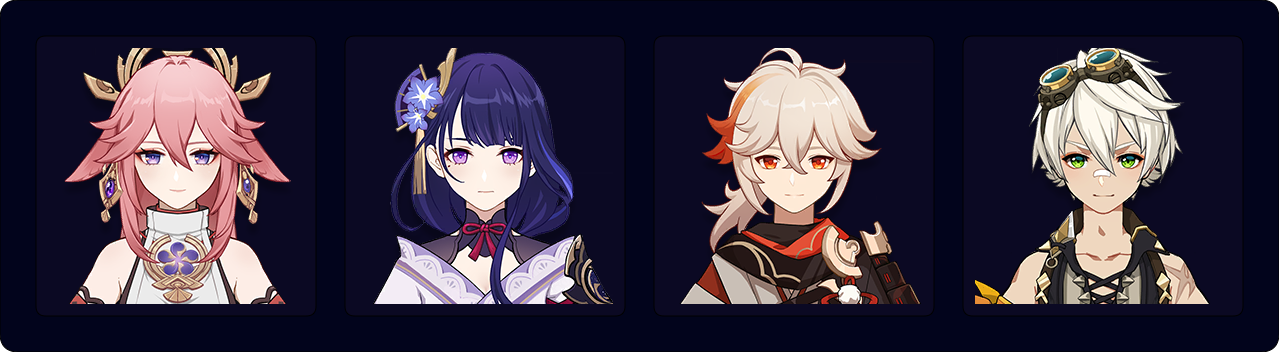
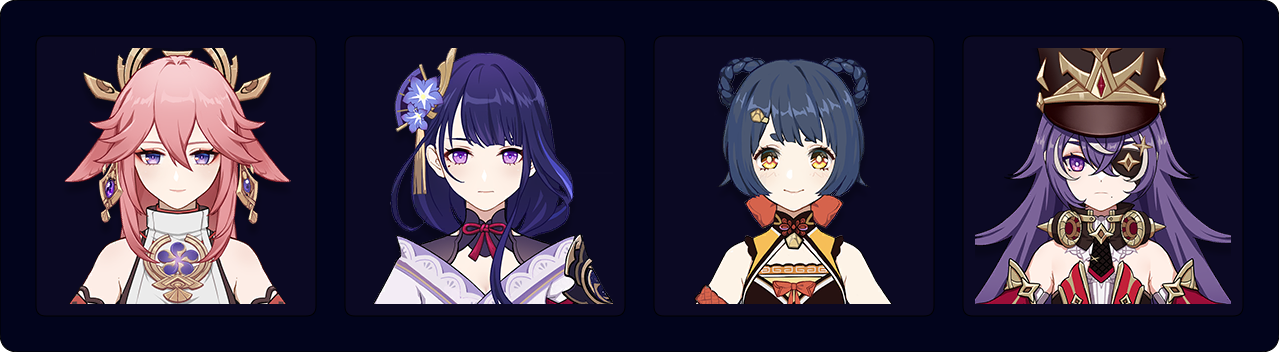
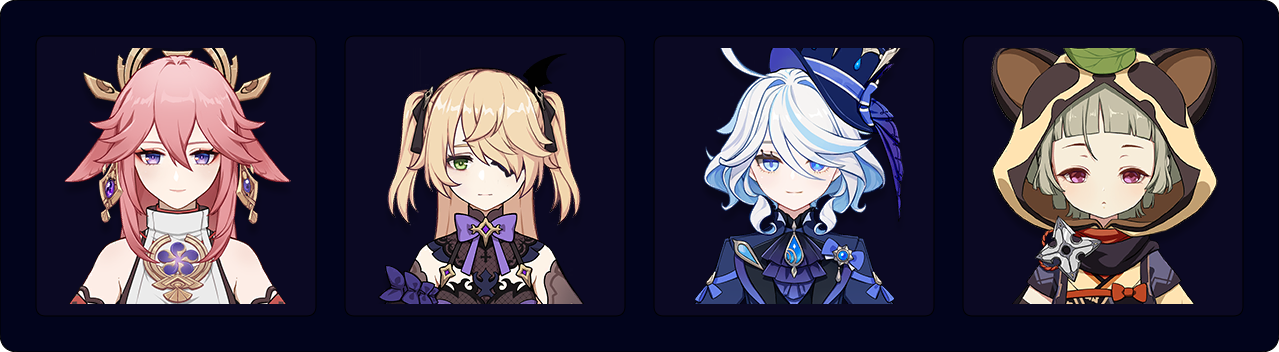
More colloquially known as “Raikou”, this team is one of Yae’s oldest and most reliable. Kazuha and Bennett provide massive buffs to both Yae and Raiden, primarily concentrating on their Bursts. This makes it an extremely potent nuking team with a very simple and easy-to-play rotation.
Sample Rotation
(Raiden E)1 > Yae 3[E] > Kazuha tEP > Bennett EQ > Yae Q 3[E] > Kazuha tEPQ > Raiden Q Combo > Bennett E
1 First rotation only.
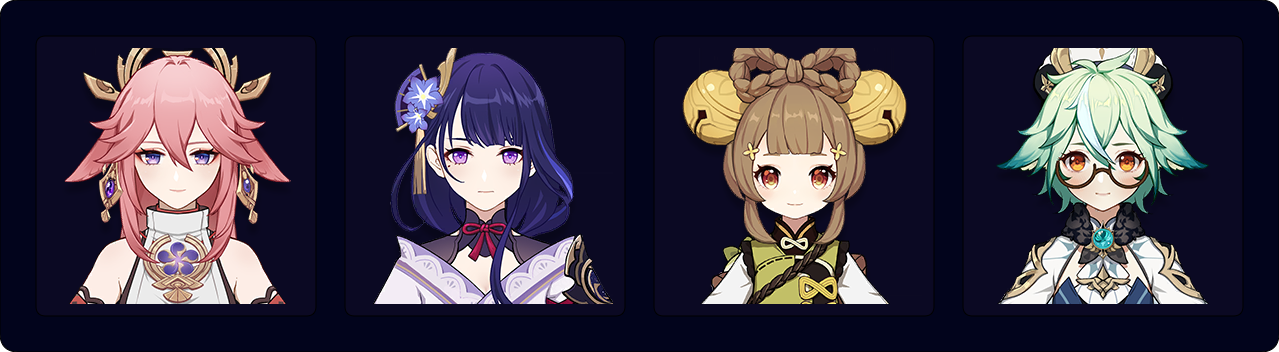
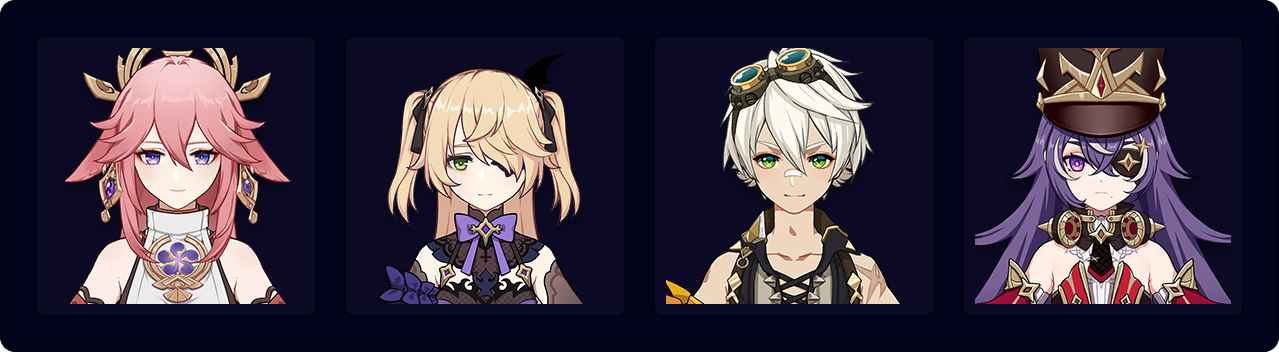
This “Mono Electro” team is packed with multiple strong buffs from Sara and Xilonen. Sara also benefits from all these buffs, dealing respectable damage herself.
Sample Rotation
(Raiden E)¹ > Yae 3[E] > Xilonen EQ N2 > Sara E C > Yae Q 3[E] > Sara Q > Raiden Q Combo
1 First rotation only.
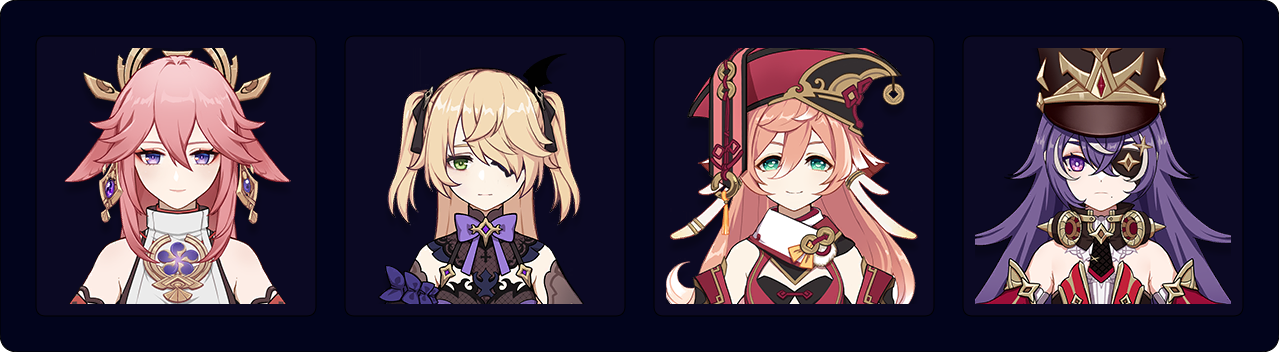
This team is particularly effective against enemies with innate Cryo or Hydro auras (e.g., Hydro Tulpa), where Xiangling’s damage is multiplied thanks to Melt or Vaporize. Chevreuse is highly valued in these teams, since her RES Shred does not require enemies to have an aura unlike Anemo units.
Sample Rotation
(Raiden E)1 > Raiden E > Yae 3[E] > Chevreuse Q hE > Xiangling Q E > Yae Q 3[E] > Raiden Q Combo
1 First rotation only.
A good Aggravate team with two 4-star teammates. Sucrose should use 4pc VV and Hakushin Ring to buff Yae and Raiden. Yaoyao can use either 4pc Instructor, 4pc TotM, or 4pc Scroll, and she casts her Burst every rotation to keep full Quicken uptime and stack Raiden’s Resolve stacks, but does not stay on-field after it for long.
Sample Rotation
(Raiden E)1 > Yae 3[N1E] > Sucrose EDQ N2 > Yaoyao Q > Yae Q 3[N1E] > Yaoyao E > Sucrose (ED) N2 > Raiden Q Combo
1 First rotation only.
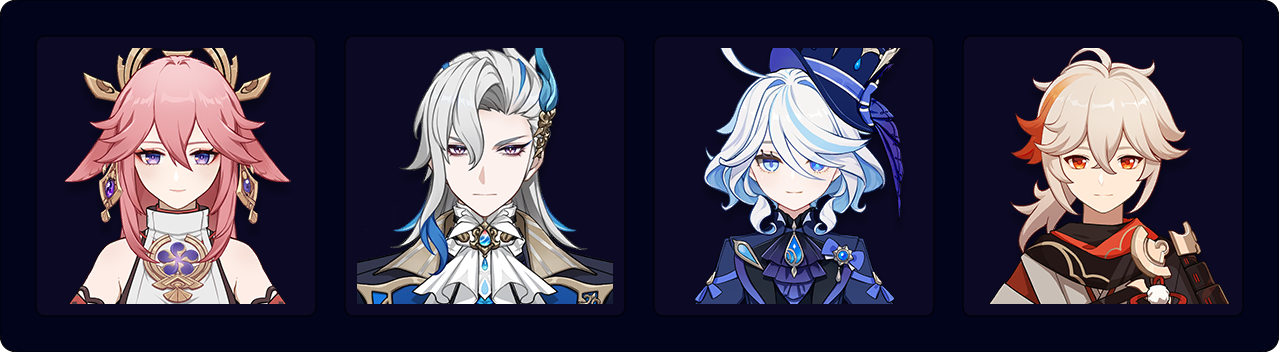
Yae Fischl Teams

Yae and Fischl are both high damage single-target Electro characters with complimentary kits. Fischl’s incredibly high particle generation allows Yae to greatly reduce her ER requirements, while Yae can be a fantastic driver for Fischl’s A4 Passive. These two also pair extremely well in Aggravate teams, as they can both trigger a large number of Aggravate reactions, and Yae’s Normal Attacks can allow her to drive Fischl’s A4 for even more.
Even when Yae is not driving, they still have synergistic cooldowns. Yae can accommodate Fischl’s unusual preferred 12s or 25s rotations, since her Skill has a 12s cooldown and her Burst has a 22s cooldown which easily fits in a 25s rotation by extending the time between Skill refreshes.
Yae Fischl teams tend to be very flexible with their rotation, but they are heavily single-target focused. Their multi-target damage is respectable, but it is not their forte.
Notable Teammates
Dendro
Yae and Fischl’s most notable archetype is Quicken / Aggravate teams, and Dendro units are essential to these teams. Generally, the combination of a Dendro character with sustainability and an Anemo buffer (e.g., Kazuha or Sucrose) is better than the reverse. The exception is with Xilonen — a strong support with both healing and buffs. Nahida is preferred as the Dendro applier in this scenario.
 Nahida | Nahida is the premier Dendro buffer and enabler for Yae and Fischl Aggravate teams. She provides a much appreciated EM buff to Yae, who usually acts as an on-fielder for the team. Nahida also deals decent damage, especially in AoE, thus helping the multi-target performance of Yae and Fischl teams. Her application has full uptime as she can be freely switched in to reapply her Skill onto newly spawned enemies. It is beneficial to the Electro units’ damage that Nahida holds a supportive artifact set such as 4pc TotM or 4pc Scroll instead of 4pc Deepwood for personal damage. Nahida can also use Prototype Amber to provide a small amount of healing enough to sustain the team without having to bring a dedicated healer/shielder, provided that players can pilot the team without taking too much damage. |
 Baizhu | Baizhu provides valuable role compression. He is a teamwide healer that provides a moderate buff to Dendro reactions to the on-field character. He also provides shields, but these are broken extremely easily and should not be relied on for interruption resistance. |
 Kirara, Yaoyao | Other sustain Dendro options for Aggravate teams. Kirara’s shield is more valuable as Yae is quite fragile and prone to being staggered, but Kirara’s application in multi-waves can be limited without her C4. Nevertheless, she provides a good buff at C6, making her the better choice between the two. |
  Alhaitham, Tighnari | These on-field Dendro damage dealers deem the Yae and Fischl core a valuable asset in their teams for the excellent single target damage and long-lasting, consistent Electro application for Quicken uptime. |
  Dendro Traveler, Collei | Accessible off-field Dendro enablers with good application but lag behind other Dendro picks since they do not offer much else. |
Emilie | Emilie is used to deal good personal damage while providing Dendro application to enable Aggravate for the Double Electro duo in a special team colloquially referred to as “Quickburn”. A good Pyro applier such as Xiangling or Mavuika is needed for such a team to perform. |
Hydro
Hydro characters can be used to form Electro-Charged (EC) teams — an archetype that consists of synergetic Electro and Hydro units, and usually one Anemo unit to buff the team through 4pc VV and capitalize on the EC state to deal Double Swirl damage.
Hydro characters can also be an addition to an Aggravate team to enable Quickbloom, a subarchetype where Hyperbloom is triggered for extra damage while still maintaining good Quicken uptime for both Yae and Fischl.


Pyro
Pyro units make use of the abundant application from Yae and Fischl to trigger a handsome amount of Overloaded, or to enable the two to deal Overloaded damage in the case of a Quickburn team (usually with Emilie as the Dendro option). Pure Overloaded with Chevreuse are also simple and strong teams for Yae.
 Chevreuse | Chevreuse is the staple support for Pure Overloaded teams thanks to her powerful buffs including 40% Electro and Pyro RES Shred from her A1 Passive, up to 40% ATK% from her A4 Passive, and 60% Electro and Pyro DMG% from C6. However, she restricts players to running Pyro-and-Electro-only teams. |
Bennett | Bennett is another top support for his unmatched Flat ATK buff that benefits both Yae and Fischl, and any potential off-field damage dealers that can snapshot his buff such as Xiangling or Beidou. |


Anemo
As Anemo characters, these units inherently have access to the powerful 4pc VV set. What sets them apart is the utilities of their own. Some offer good buffing, some provide good healing / shielding, and some act as the driver / on-field DPS for the team.
 Kazuha | Kazuha provides a noticeable DMG% buff from his A4 Passive, and strong grouping from his Skill as well as good personal damage. He shines the most in multi-target scenarios, where his AoE Swirl damage is amplified. |
Sucrose | Sucrose’s EM share combined with Hakushin Ring’s passive often outpace Kazuha in terms of buffing capability in Quicken teams. However, her grouping and off-field damage are not as strong as his. Nevertheless, Sucrose can play the role of a driver to trigger Fischl’s A4 Passive and deal Aggravated Swirl in AoE. |


Geo
Geo units are used for their buffing, sustain, or personal damage. On-field Geo characters can use Yae and Fischl as a simple but effective flex core in their teams.
Xilonen | Xilonen is a powerful support with a multitude of utilities from healing to RES Shred to DMG Bonus buff (from 4pc Scroll). |


Example Teams
This is not a comprehensive list of teams. The inclusion or exclusion of any given team does not necessarily reflect its power level.
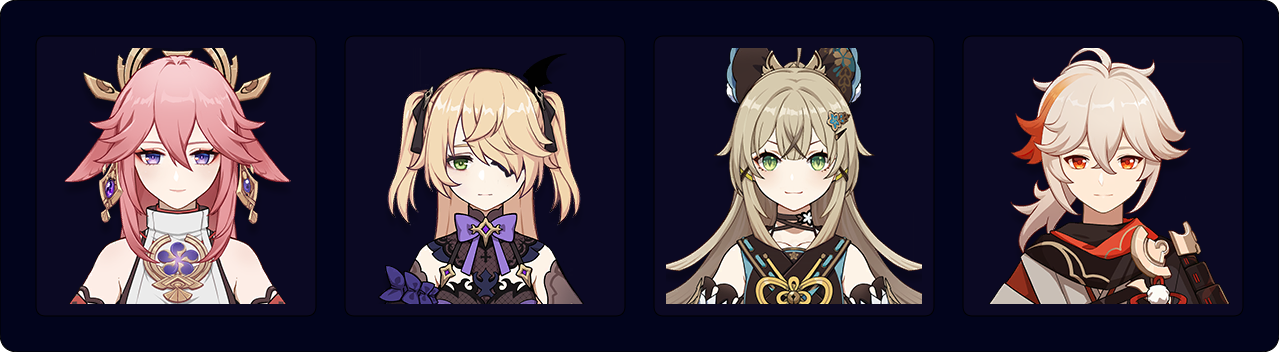
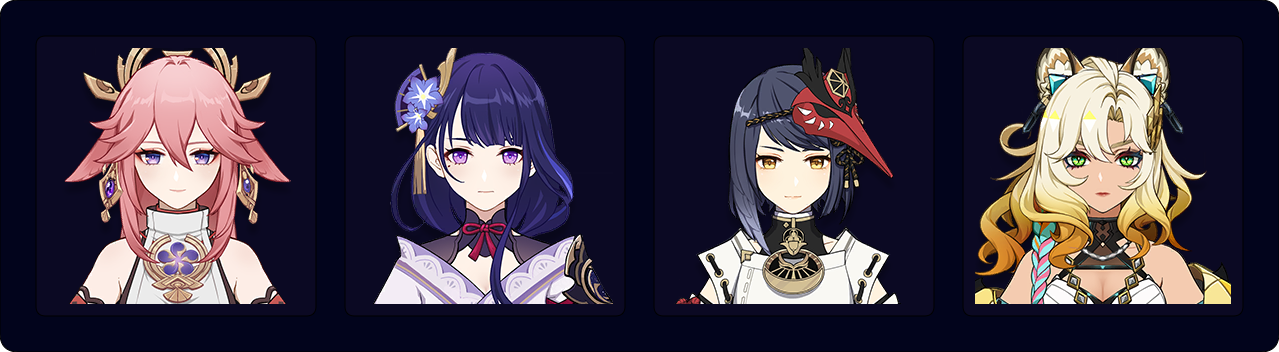
A good baseline Aggravate team with a comfy shield from Kirara. While Kirara’s application is fairly lacking in multi-wave scenarios, her C4 somewhat fixes it, and Kazuha with his strong grouping also makes Kirara’s Burst more reliable at hitting many enemies.
Sample Rotation
Yae 3[N1E] > Kazuha Q > Fischl E > Kirara EQ > Kazuha EP > Yae Q 3[N1E] N2 > Kirara E > Fischl Q > Kazuha EP > Flexible Time (Yae Driving, Kirara Refresh, Kazuha 4pc VV Refresh)

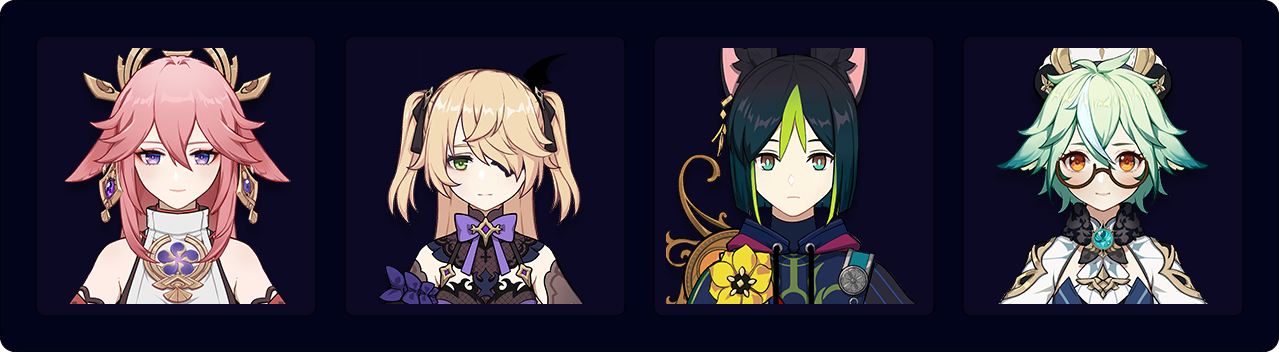
Xilonen allows the use of Nahida while still keeping both Electro RES Shred and sustainability for the team.
Sample Rotation
Yae 3[N1E] > Xilonen E N2 (Q) > Nahida E (N2C) Q > Fischl E N2 > Yae N2CJ Q 3[N1E] > Xilonen E N2 > Nahida E N2 > Fischl N2 Q > Yae 3[N2CJ]
This is an extremely potent single-target team. It deals high amounts of front-loaded damage from Tighnari’s Charged Attacks and Yae’s Burst. Moreover, it maintains good sustained damage with Yae’s Sesshou Sakura and Fischl’s Oz. Sucrose buffs the entire team via her EM buffs, 4pc VV Electro RES Shred, and potentially her weapon passive (Hakushin Ring or Wandering Evenstar).
This team lacks direct defensive utility, but it is feasible to clear content without taking much damage thanks to the team’s high range, frequent Burst use, and decent mobility. If the enemies deal smaller instances of damage and you need healing to survive, Sucrose can hold Prototype Amber.
Sample Rotation
Yae 3[N1E] N2 > Sucrose Q N2 > Fischl Q > Tighnari E 3[C] Q > Yae Q 3[N1E] N2 > Sucrose N1 ED N3C > Fischl E > Tighnari E 3[C] > Sucrose N1 ED N2C N2
This team performs well with the damage from three good off-field DPS and Sayu assisting the team with RES Shred and healing. Sayu also deals decent Swirl and Electro-Charged damage, especially in AoE.
Sample Rotation
Yae 3[E] > Fischl (N1) E > Furina ED Q > Sayu Q > Yae (N1C) Q 3[E] > Fischl (N2) Q > Sayu hE
By combining Chevreuse’s buffs with Bennett, Yae and Fischl can deal large amounts of damage. With no off-field Pyro application, it is important to frequently switch back to Bennett to reapply Pyro. Yae is the ideal driver as Fischl’s Oz snapshots Bennett’s buff while Yae’s Sesshou Saukra does not. Despite being on-field, Golden Troupe is still Yae’s optimal set; however, 2pc + 2pc combos can perform on par, since the DPS difference is small.
Sample Rotation
Yae 3[E] > Bennett EQ > Chevreuse Q hE > Fischl E/Q > Yae N2C > Bennett E N1 > Yae (Q) / 2[N2C]
The combined Electro application of Yae and Fischl can enable Yanfei to have major Overloaded ownership. As such, she should be built full EM to take advantage of her high reaction counts.
Sample Rotation
Yae 3[E] > Chevreuse Q hE > Fischl E > Yanfei E C N2 Q 3[N2C] > Chevreuse hE¹ > Yae 3[E] > Fischl N2 Q > Yanfei E C 3[N2C] > Yae Q
1 If Chevreuse is not C4, use Yanfei N2C instead
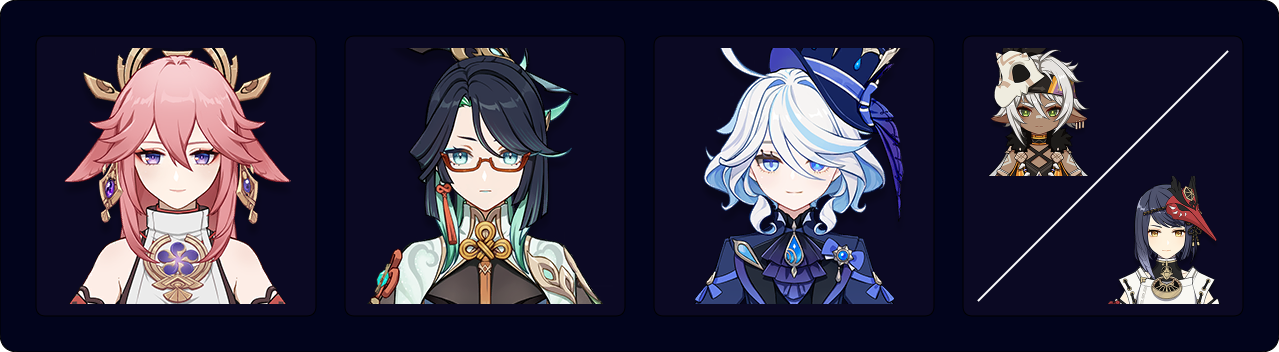
Other Teams

Despite having Raiden and Fischl as her most popular teammates, Yae still has a sizable share of teams without them. She is often the Solo Electro in those teams, providing off-field Electro application and damage. Yae is typically used for her Elemental Skill’s raw damage only, while reserving her Burst when needed or whenever it is available.
Example Teams
This is not a comprehensive list of teams. The inclusion or exclusion of any given team does not necessarily reflect its power level.
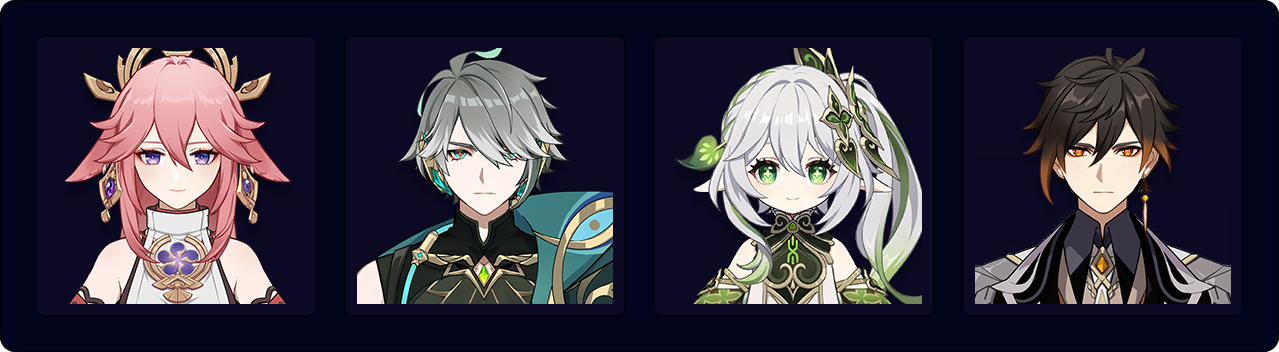
Yae can effortlessly enable Quicken for Alhaitham while still doing respectable damage from off-field.
Sample Rotation
Yae 3[E] > Zhongli hED > Nahida E Q > Alhaitham hEP 2[N3CD] > Yae (Q) 3[E] > Alhaitham Q > Nahida¹ E N1C > Alhaitham N3D N3CD 3[N3D]
1 Can be used before Alhaitham Q
Yae’s long-term off-field Electro application is appreciated for Chevreuse’s RES Shred uptime. She does not usually use her Burst in these teams and only casts her Skill to save field time. Yae’s damage in these teams is often composed primarily of Overloaded damage, making a full EM build a strong option.
Yae uses a Normal Attack while deploying her Skill turrets to apply Electro aura for Chevreuse or Bennett to trigger 4pc Scroll. The rotations below assume 4pc Scroll Chevreuse and 4pc NO Bennett. For 4pc Scroll Bennett and 4pc NO Chevreuse, use Bennett Q E > Chevreuse hE Q instead.
Sample Rotation (Arlecchino)
Arlecchino E > Yae E N1 2[E] > Chevreuse (Q) hE > Bennett EQ > Arlecchino C 6[N3D]
Sample Rotation (Lyney)
Yae E N1 2[E] > Chevreuse (Q) hE > Bennett EQ > Lyney 2[C] QE1/C2 C E C
1 Cancel Lyney Burst with his Skill after colliding with enemies
2 Use an additional Charged Shot if his Burst is unavailable
A standard Neuvillette—Furina team with Yae providing consistent off-field damage and enabling one A1 stack for Neuvillette.
Sample Rotation
Neuvillette E > Furina ED > Yae N1 3[E] > Kazuha tEPQ > Furina Q > Neuvillette C E C Q > Yae 3[E] > Kazuha tEP > Neuvillette 2[C]
In this unique Plunging team, Yae acts as the hypercarry, gathering all the strong buffs from her teammates to deal formidable Plunging Attack damage. Iansan often has an edge over Sara at equal Constellation. Keeping Iansan’s Flat ATK buff uptime is also not an issue thanks to the highly mobile Plunging playstyle that Xianyun enables.
Sample Rotation (Iansan)
Yae 3[E] > Furina ED Q > Iansan E C Q > Xianyun (N1) EPQ > Yae 3[JPD] 3[E] > Xianyun N2 > Yae 5[JPD] (Q)
Sample Rotation (C2+ Sara)
Sara E > Yae 3[E] > Furina ED Q > Xianyun EPQ > Sara CA > Yae 5[JPD] 3[E] > Xianyun N2 > Sara Q > Yae 3[JPD] (Q)
Credits
rarepossum, acerbus114, xf3, emiliabyss, vladutse, previsible, nayde, mina, breadcatow, plumetra
Team images made with the KQM portrait generator.